In mobile app development, testing and development can be significantly streamlined by using mock servers to simulate REST APIs. Mockoon, a free and user-friendly tool, allows developers to create mock servers effortlessly.
In this article, we’ll explore the benefits of mocking APIs for mobile apps, compare Mockoon with other online tools, and provide a step-by-step guide to install, configure, and use Mockoon for both simulators and real devices 🤘🏽.
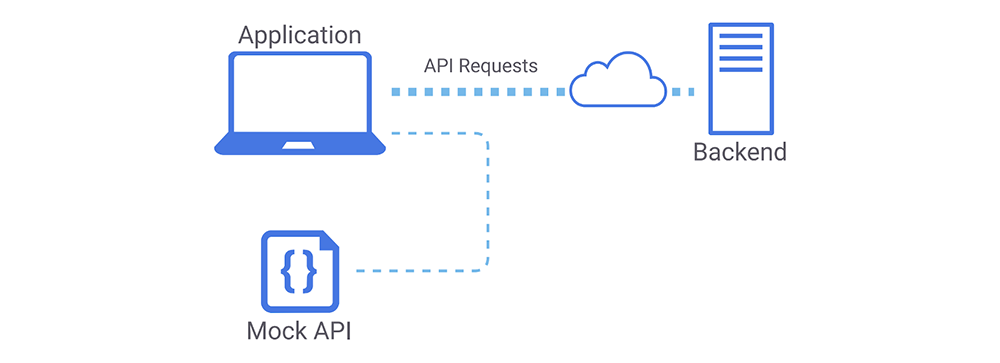
Why Mocking APIs is Useful for Mobile Apps
Mocking APIs can be incredibly useful for mobile app development for several reasons:
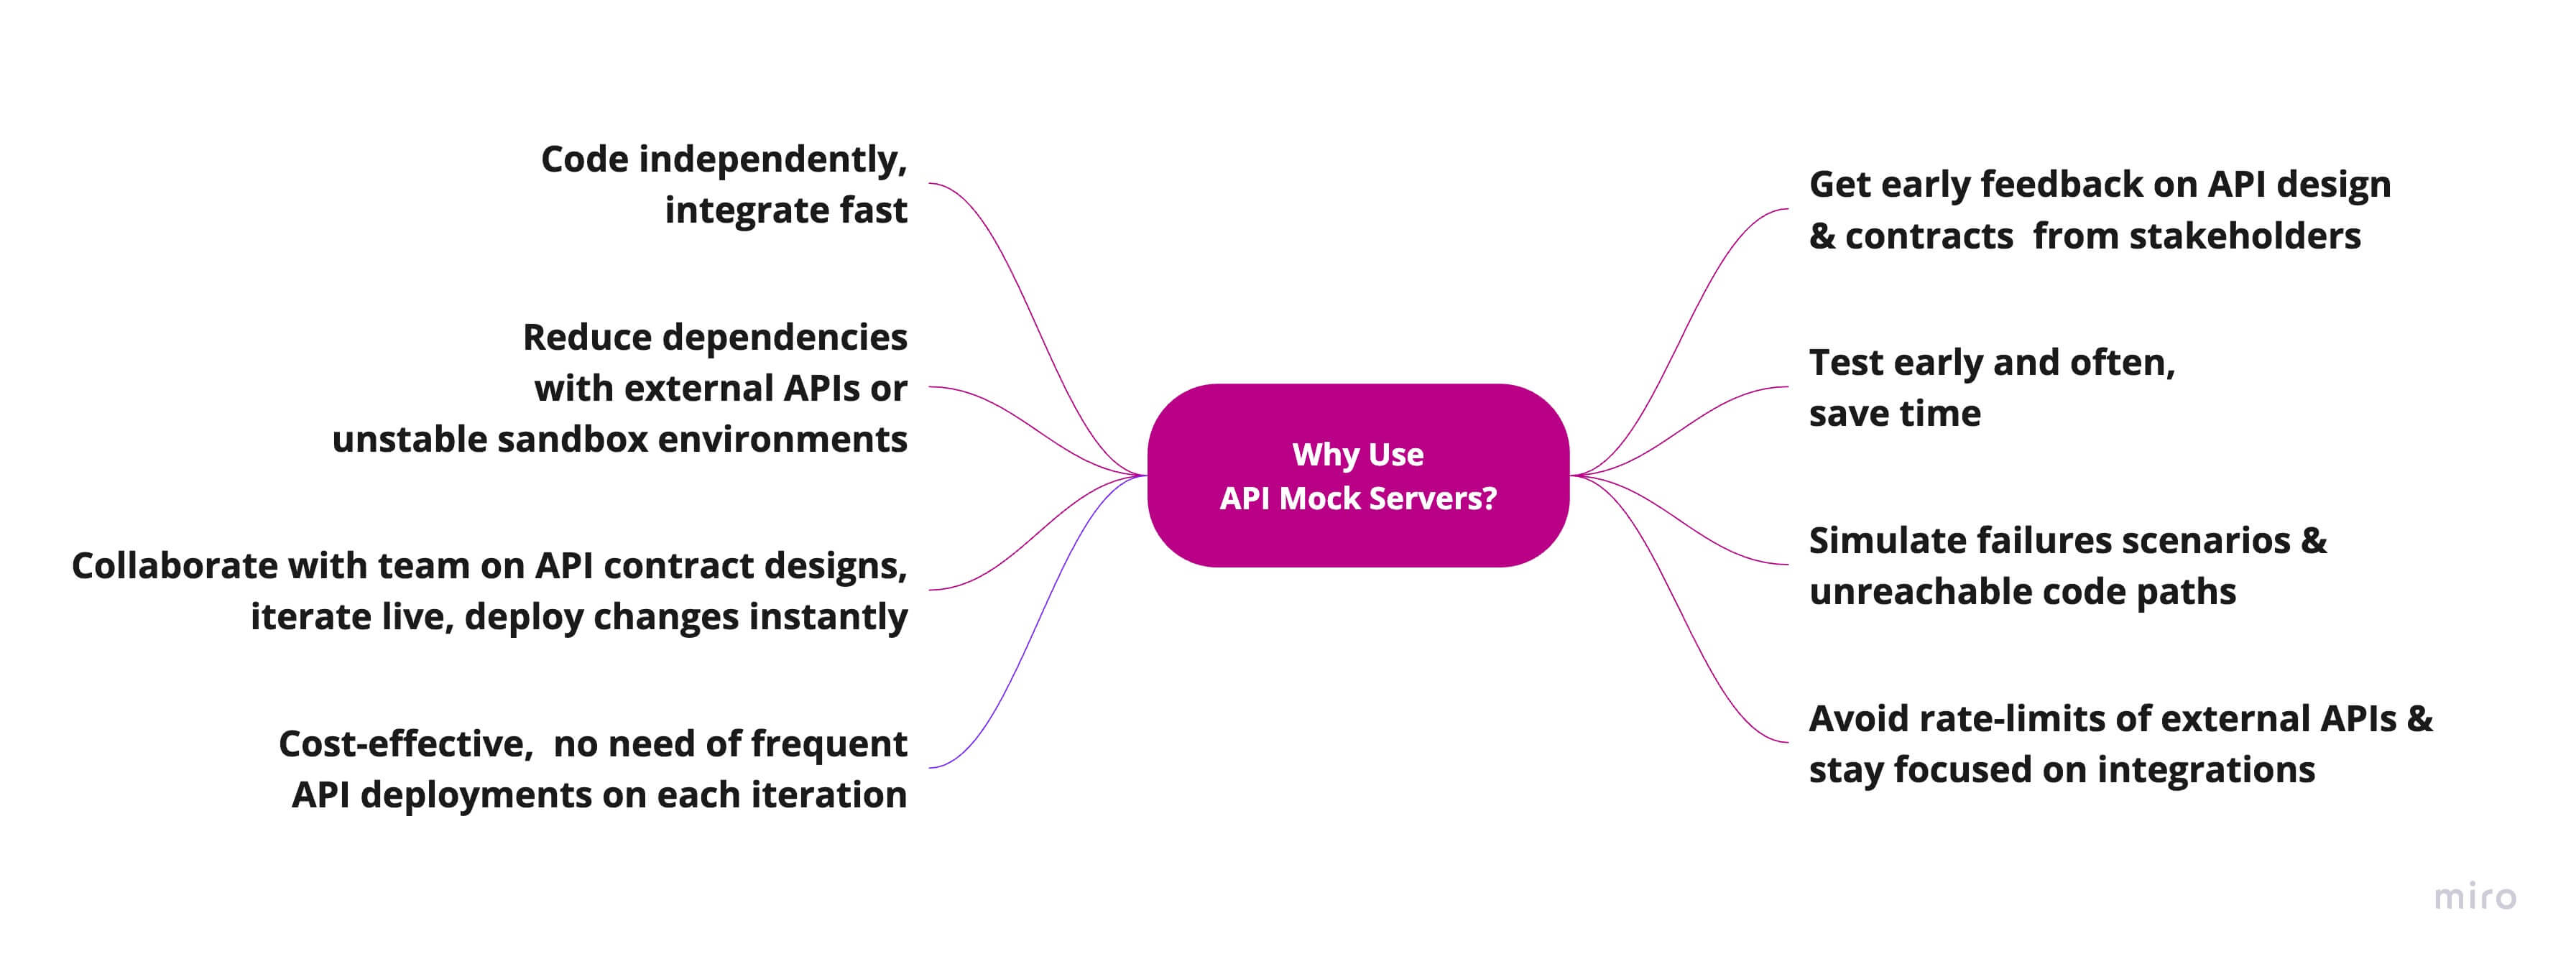
- Development Speed: Developers can work independently of backend teams by simulating API responses.
- Testing Consistency: Mocked APIs provide consistent and predictable responses, making testing more reliable.
- No Dependency on Network: Developers can work offline without worrying about network connectivity or server downtime.
Step-by-Step Guide to Install and Configure Mockoon
Installation
- Download Mockoon: Visit Mockoon’s official websit and download the appropriate version for your operating system (macOS, Windows, or Linux).
- Install Mockoon: Follow the installation instructions specific to your operating system to install Mockoon.
Configuration
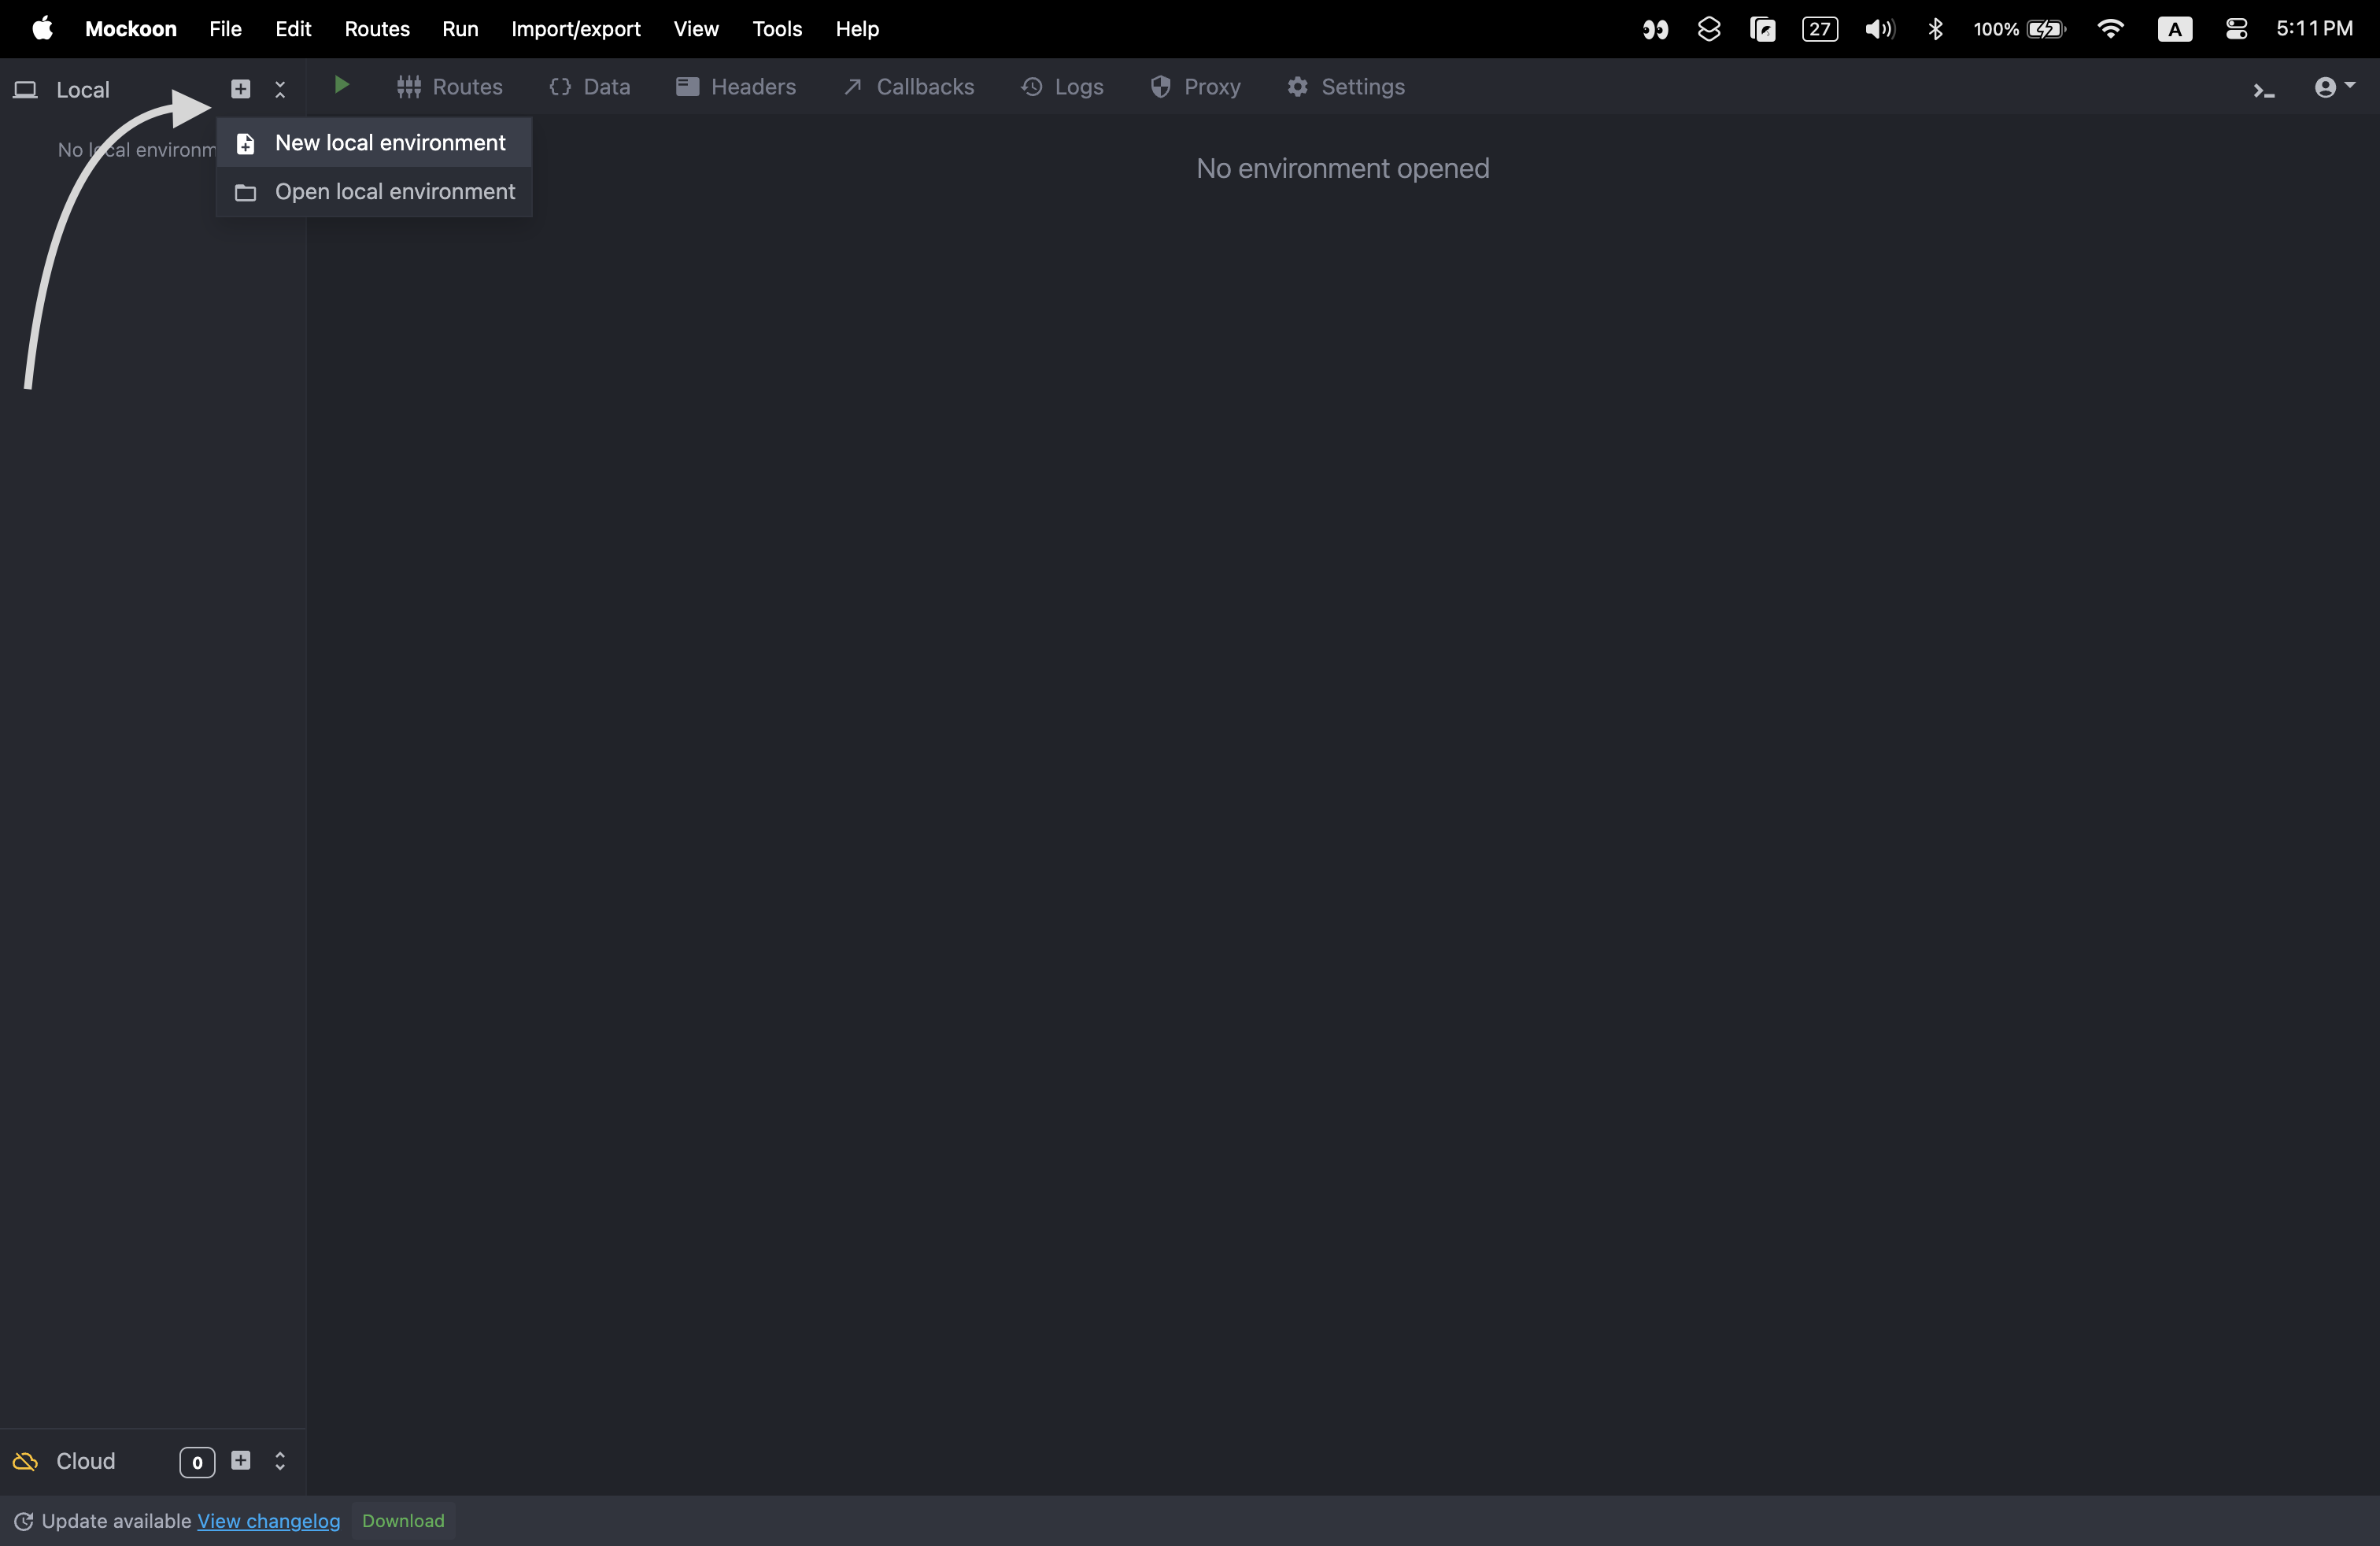
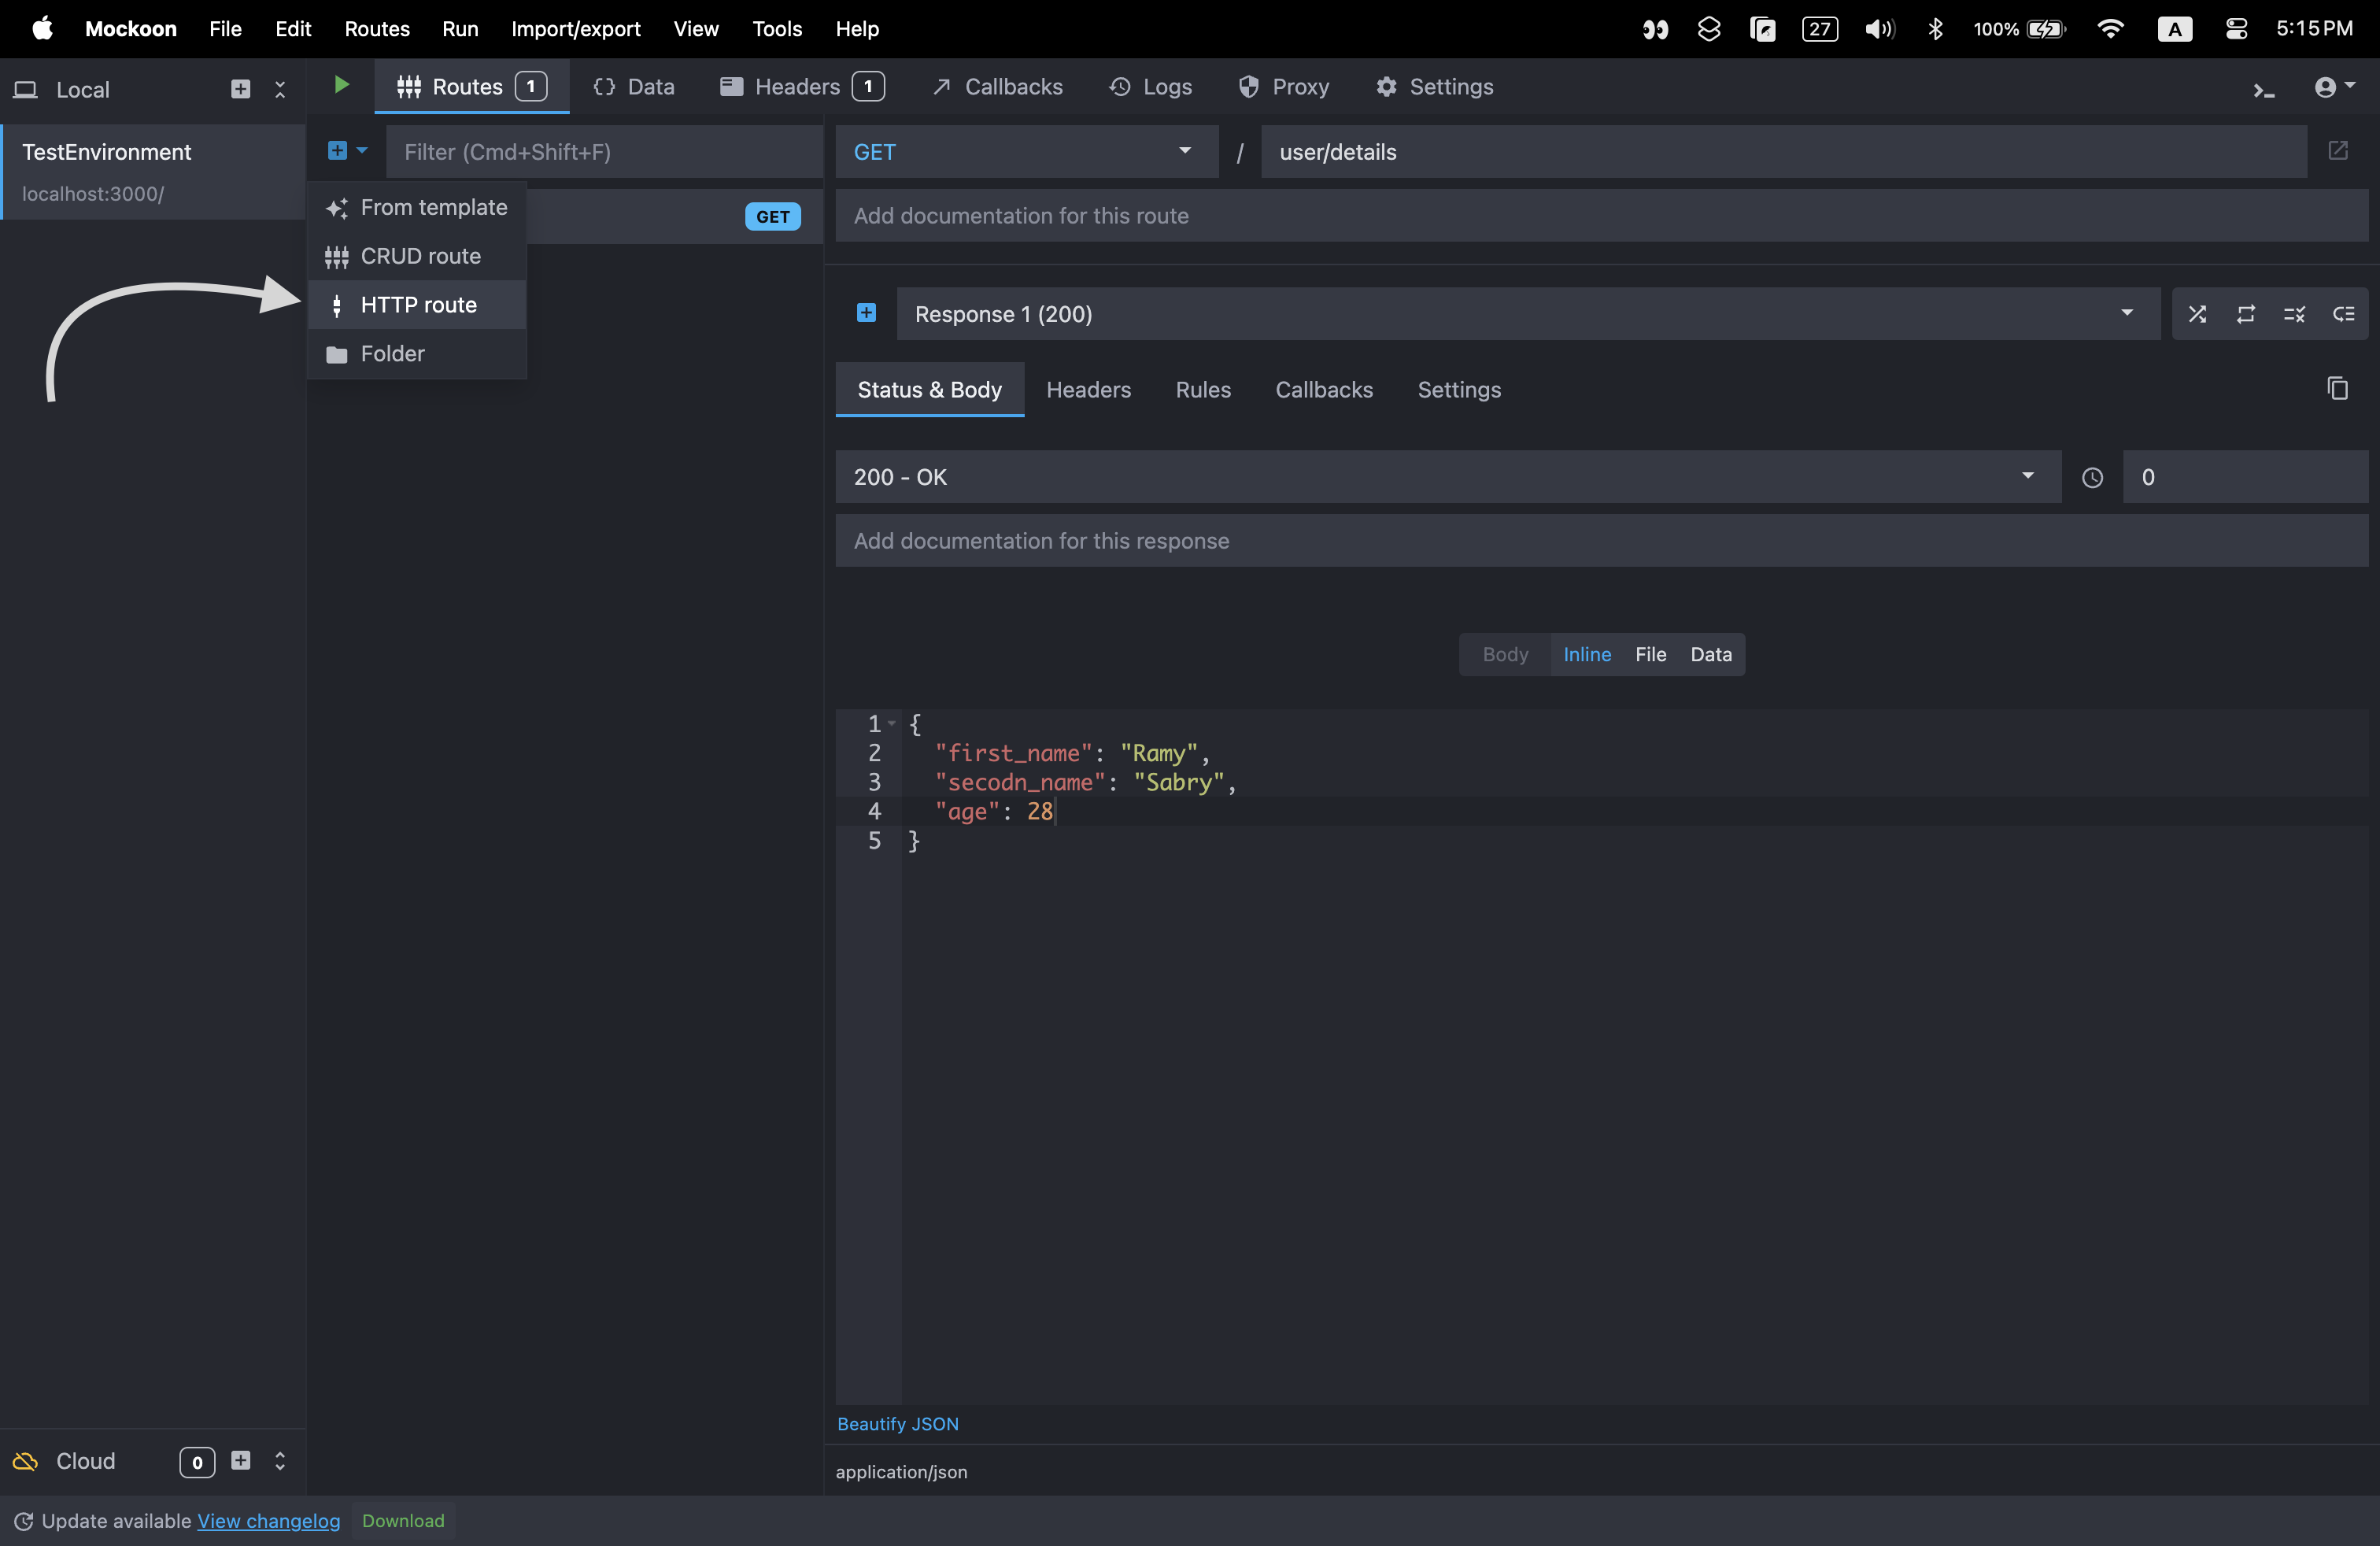
1- Create a New Mock Server: Open Mockoon and click on “New local environment”.
2- Add Endpoints: Define your API endpoints by clicking on “Add route”. Specify the HTTP method (GET, POST, etc.) and the URL path.
3- Set Responses: Configure the response for each endpoint. You can define the status code, headers, and body content.
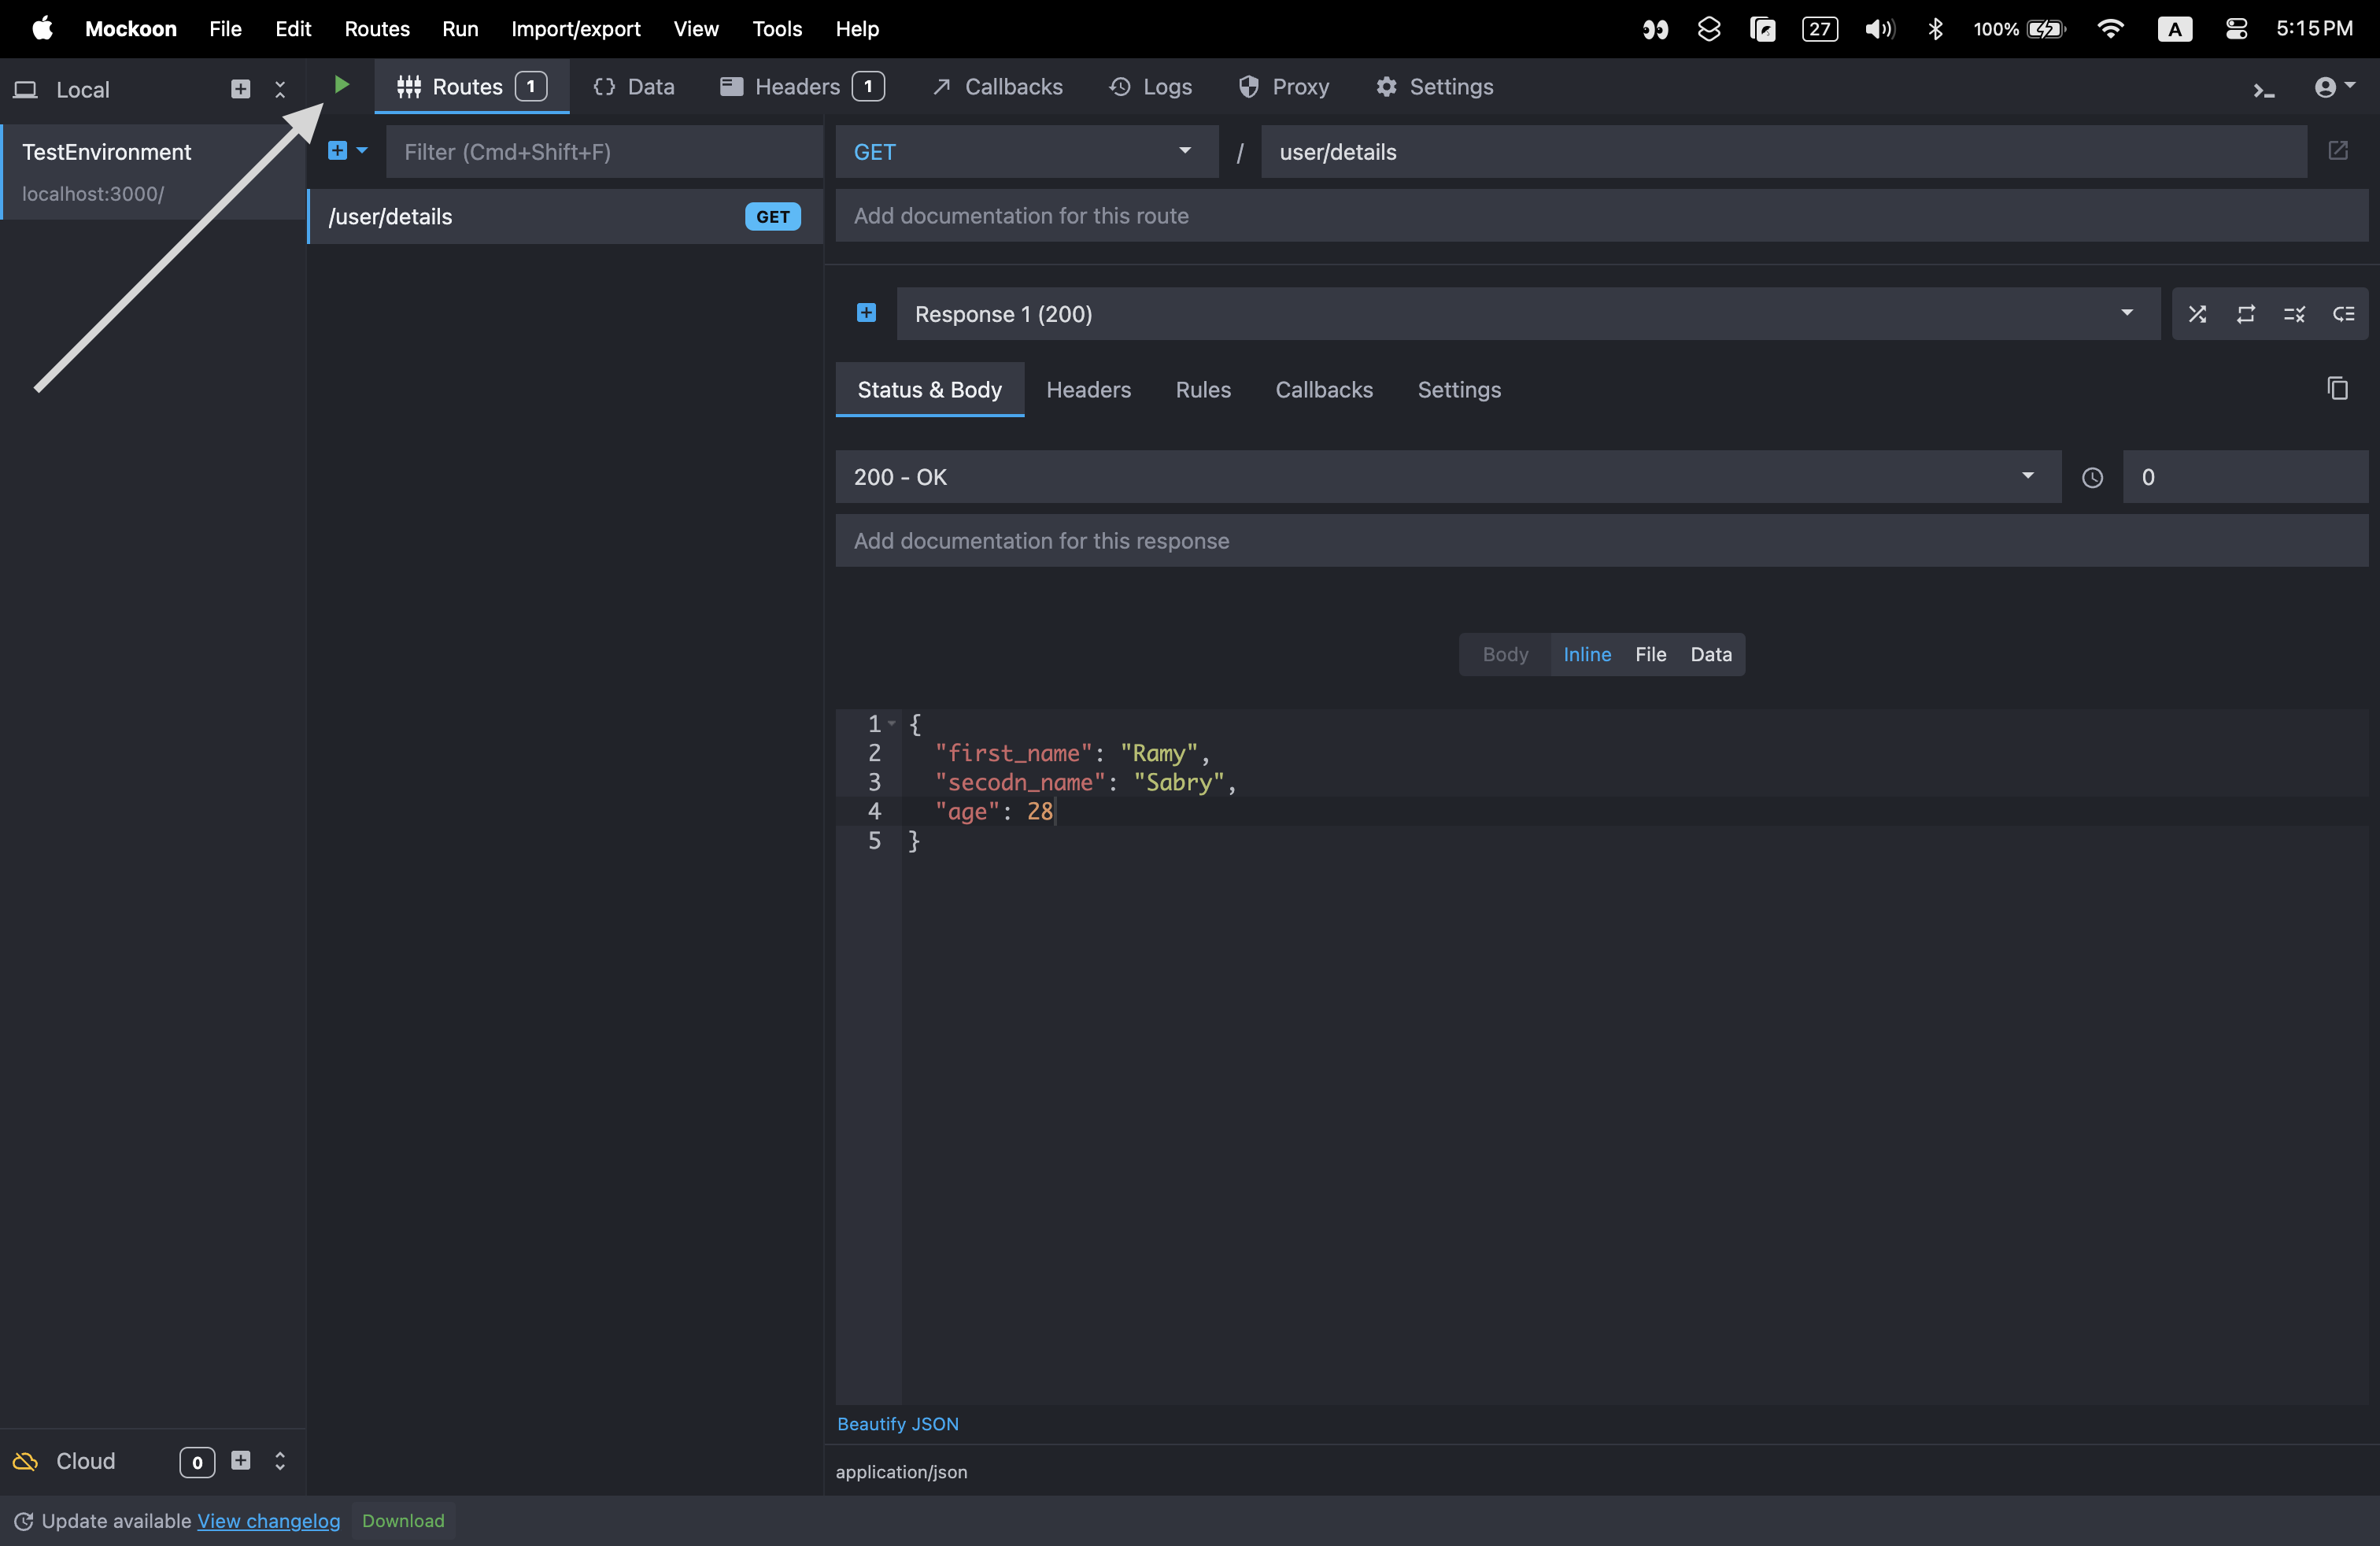
4- Start the Server: Click on the “Green Play” button to start the mock server. Note the port number on which the server is running (default is 3000).
Connecting Xcode/Android Studio Simulator to Mockoon Localhost
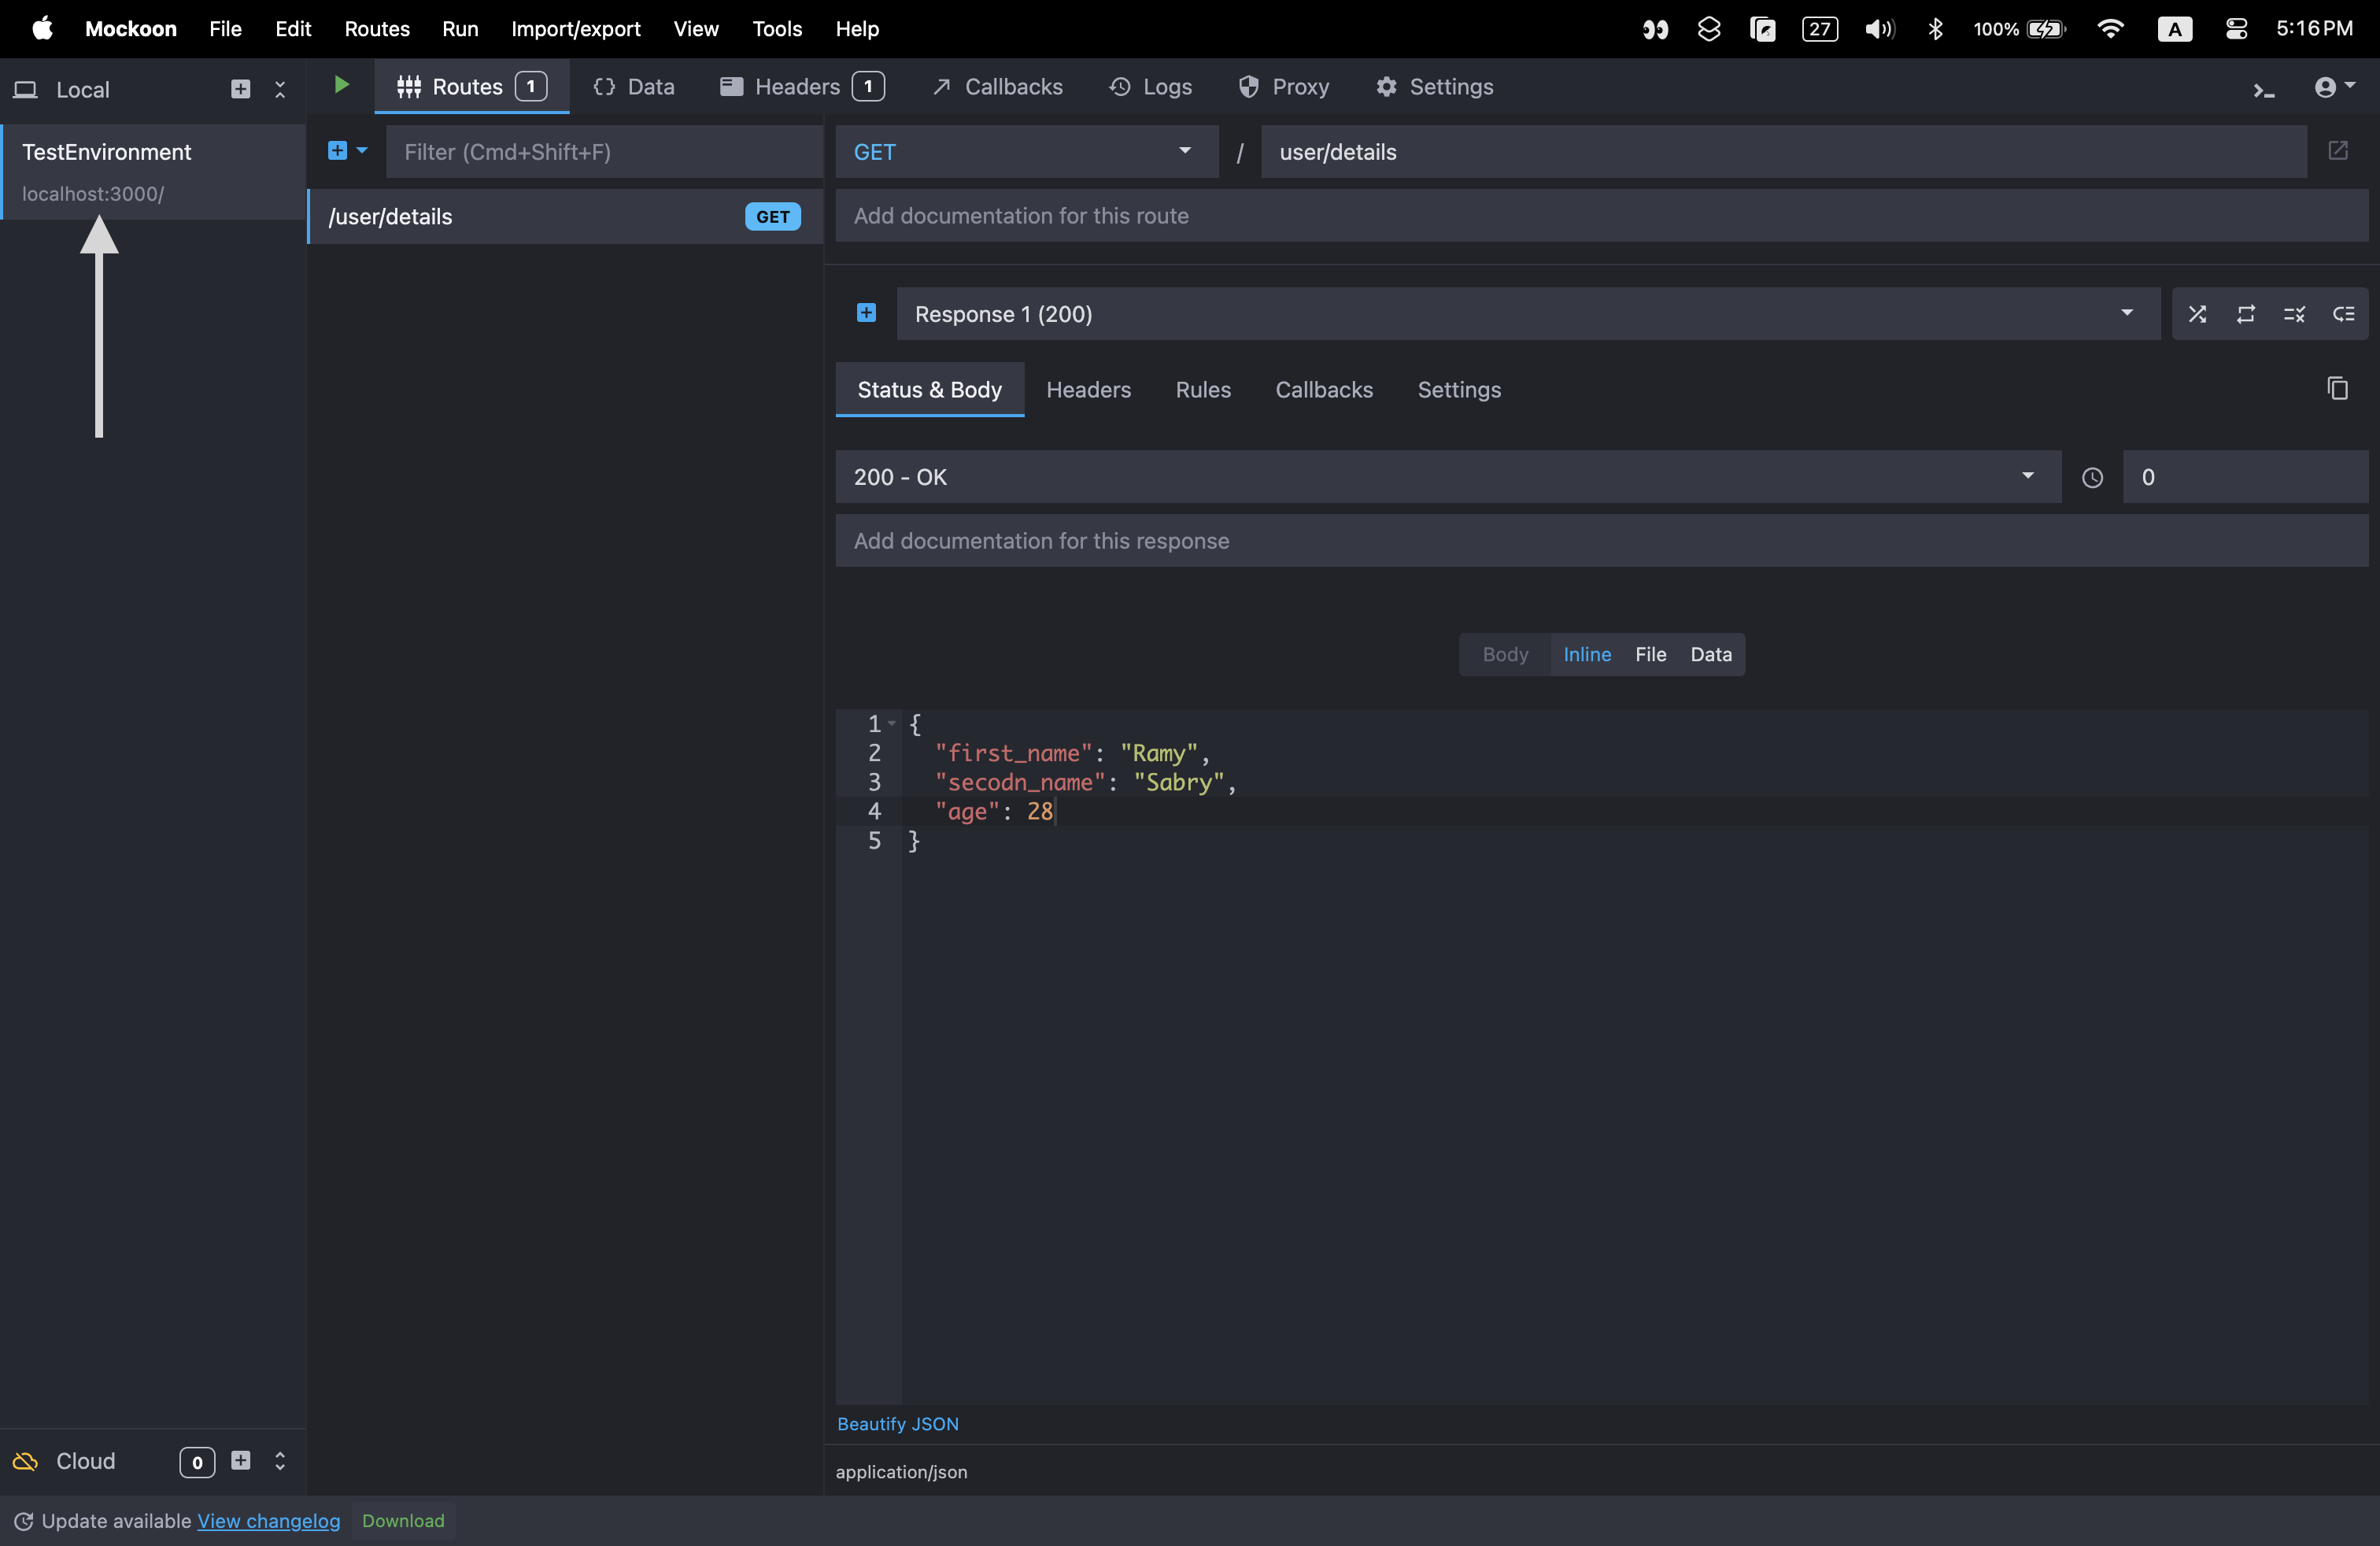
- Modify API Base URL: In your Xcode project, ensure that the API base URL points to
http://localhost:3000(or the port number Mockoon is using). - Run the App: Run your app in the Xcode simulator. The simulator can directly access the localhost, allowing your app to interact with the Mockoon mock server.
Connecting a Real Device (iOS or Android) to Mockoon Localhost
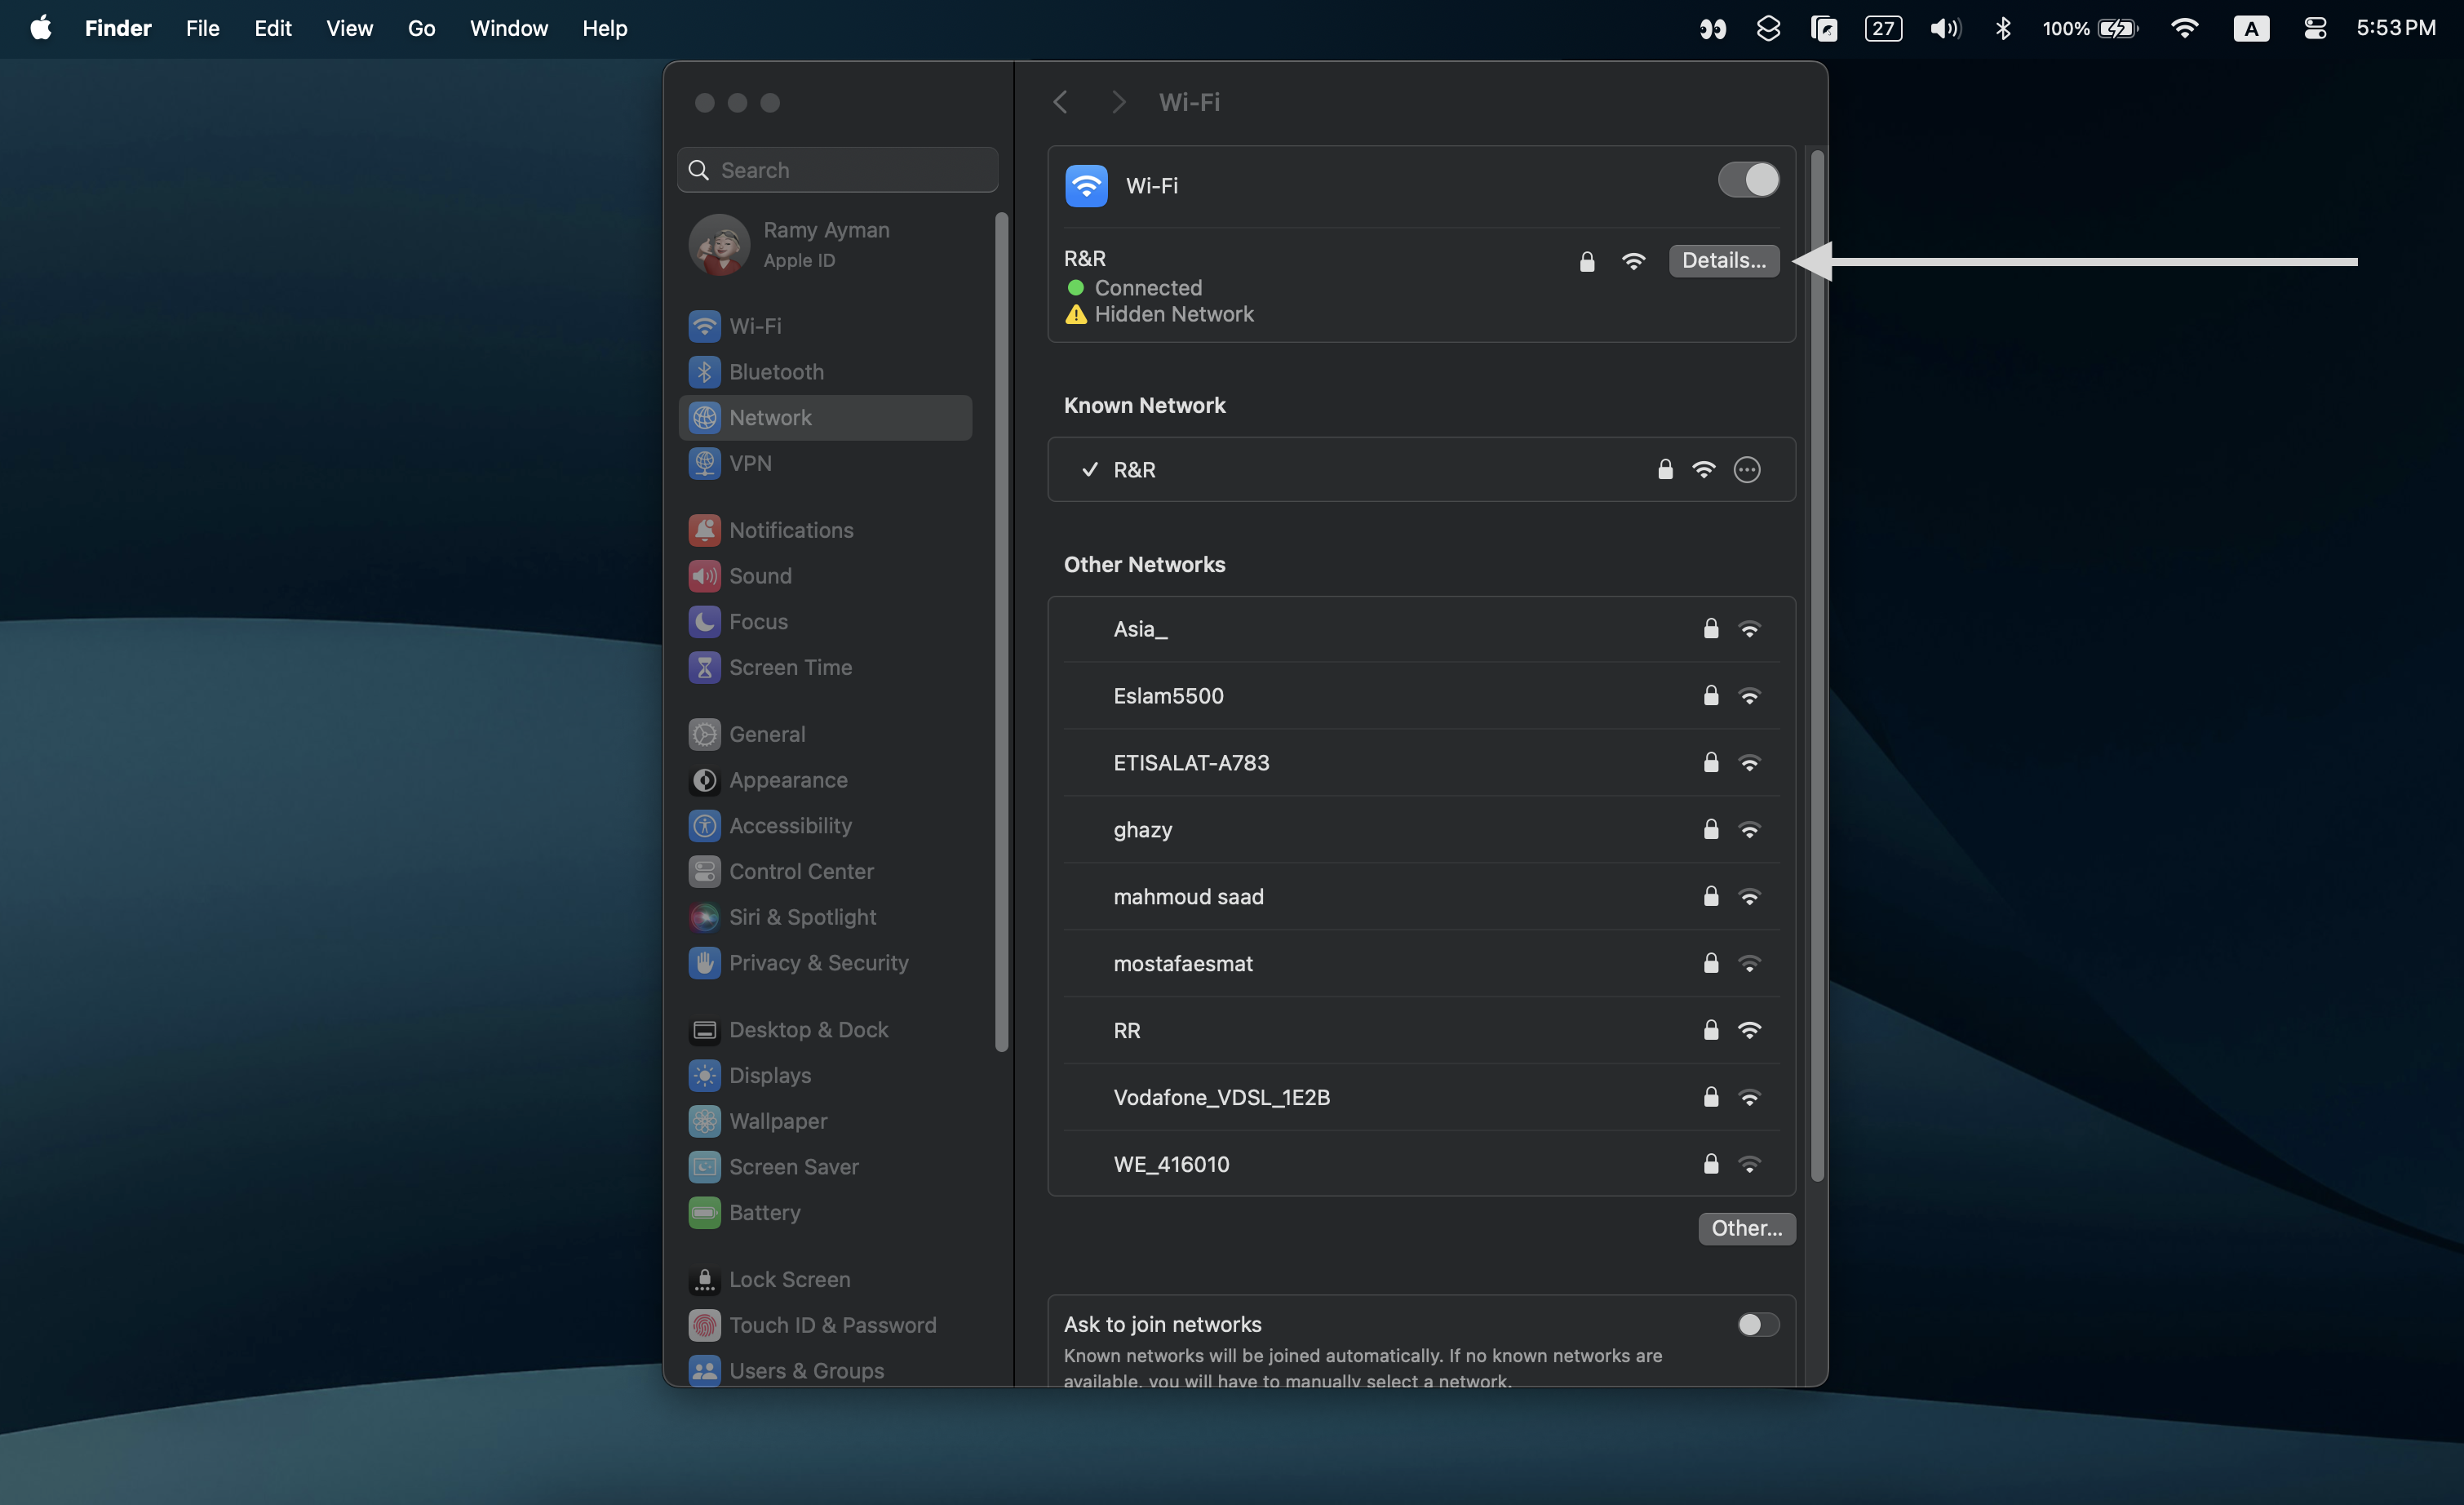
1- Find Local IP Address: Determine the local IP address of your development machine.
- On Mac: This can typically be found in your network settings.
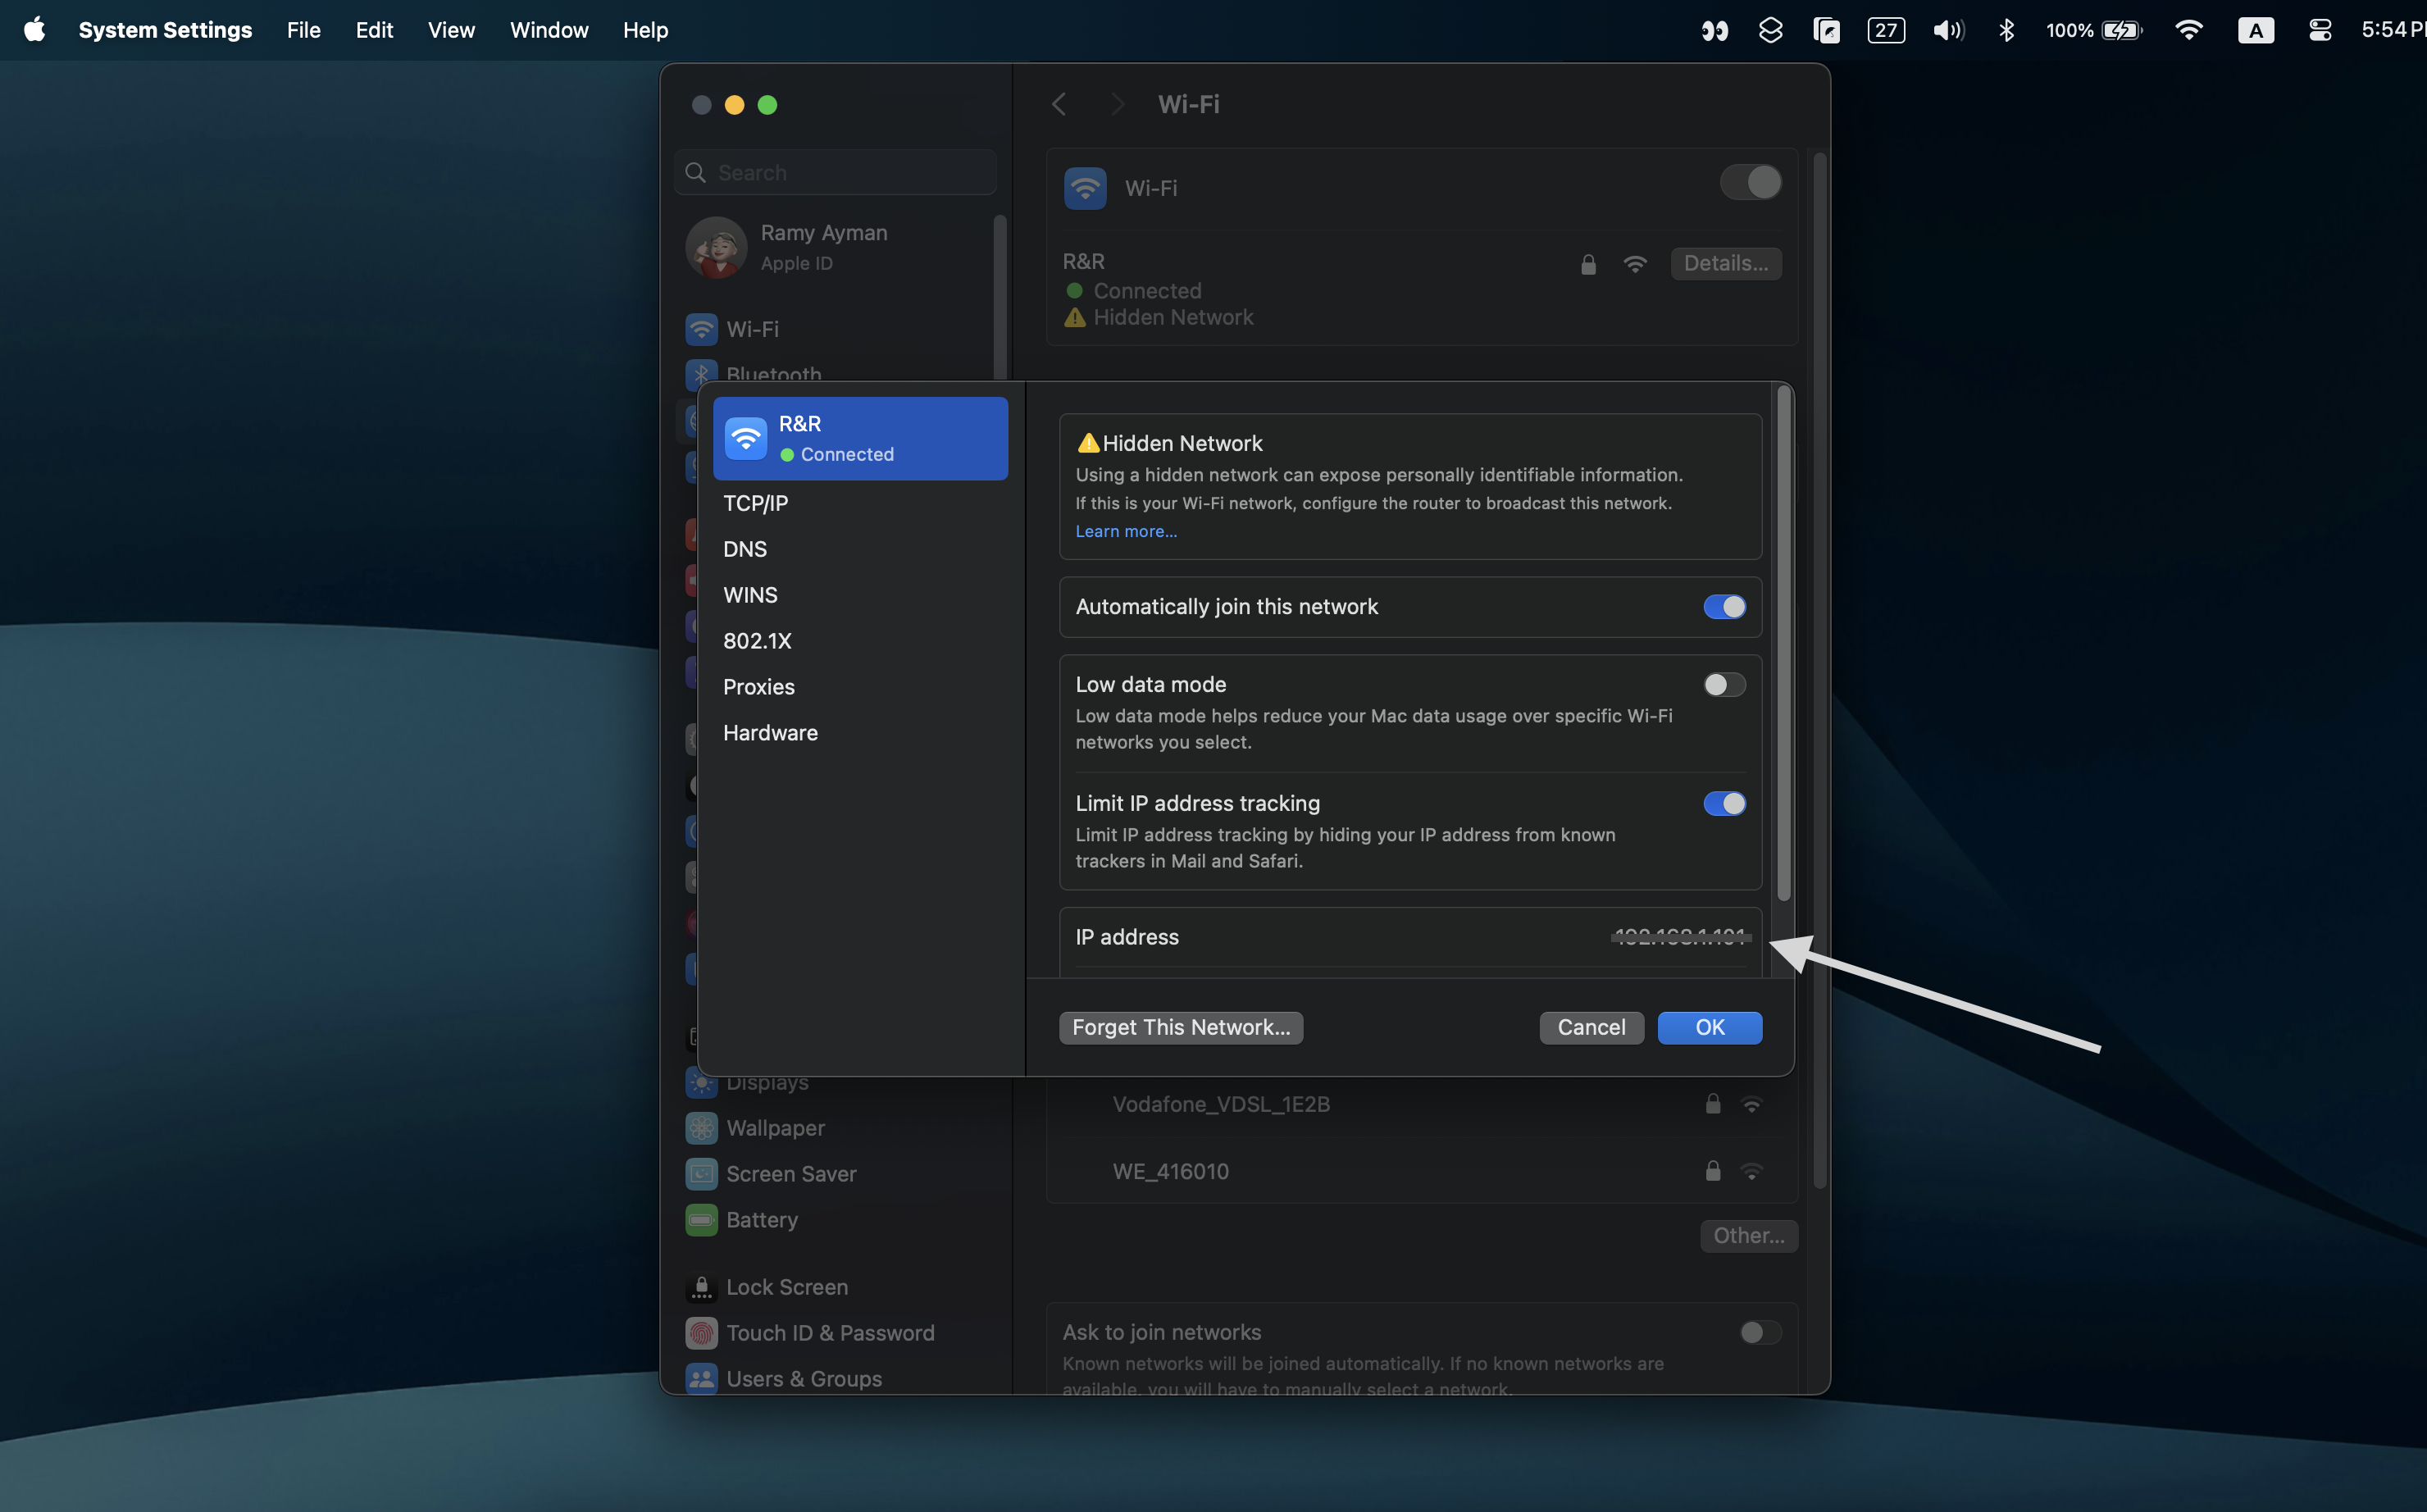
- On Windows: Open the command prompt and enter:
ipconfig
You gonna see the IPv4 address
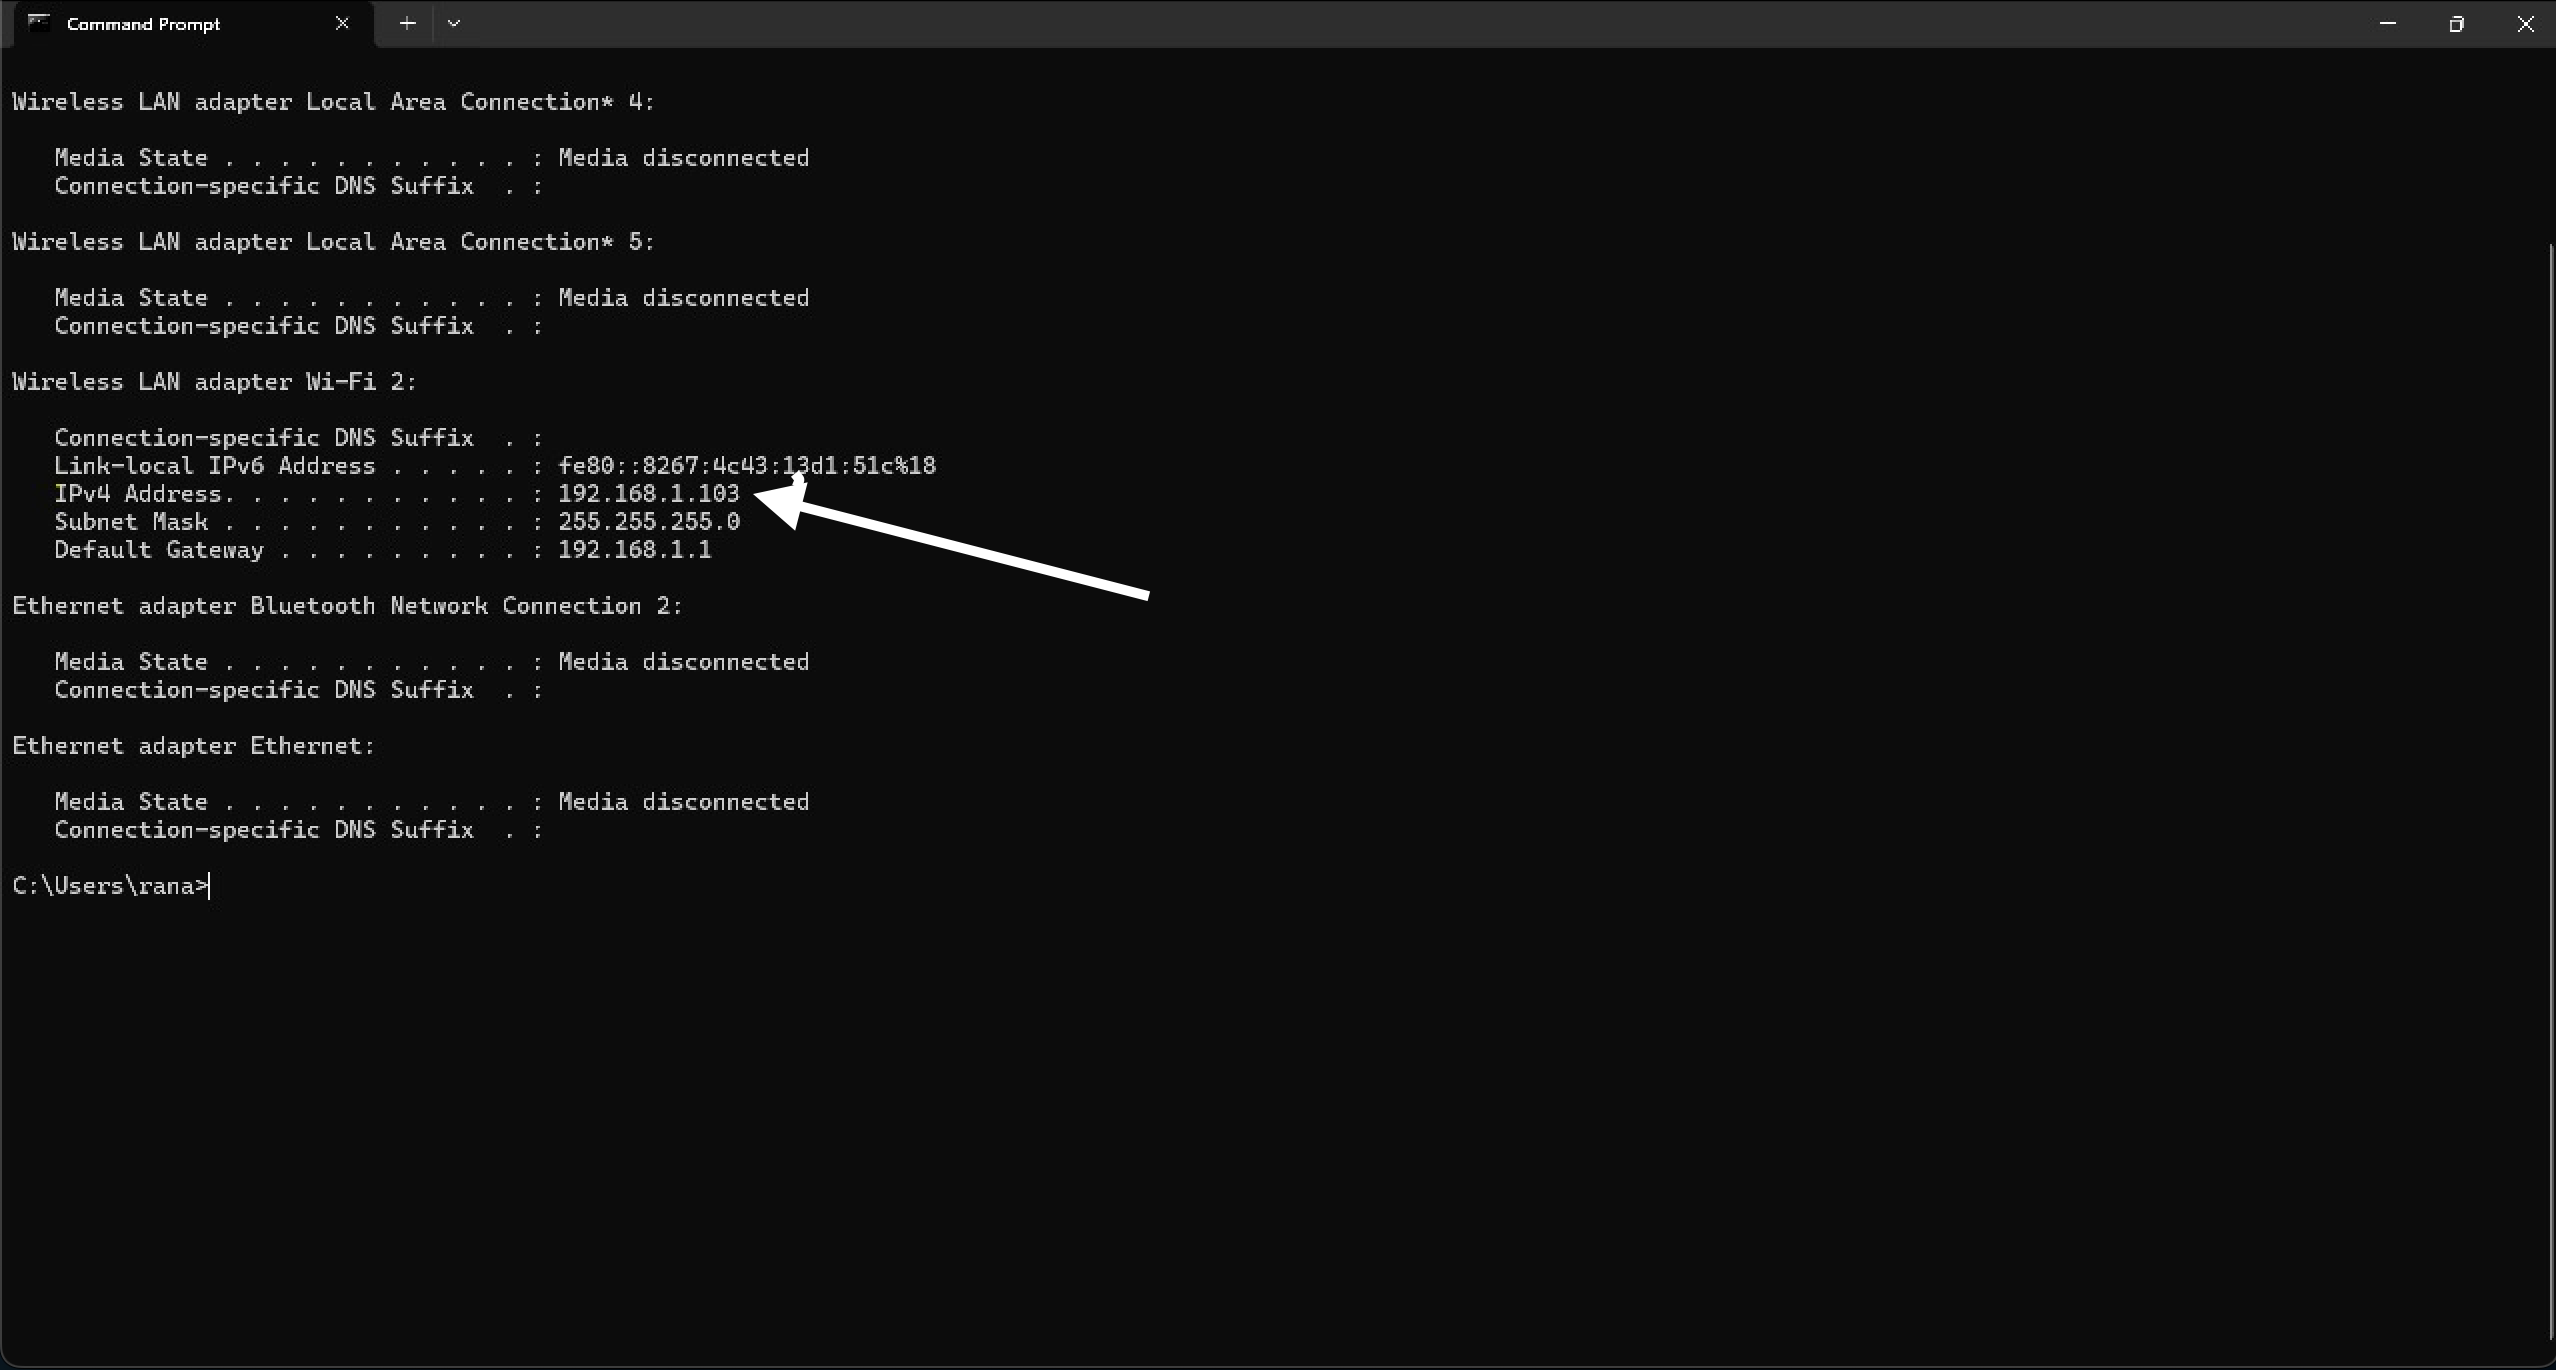
2- Modify API Base URL: In your Xcode project, change the API base URL to http://<local-ip-address>:3000.
3- Connect iPhone to Same Network: Ensure your iPhone is connected to the same local network (Wi-Fi) as your development machine.
4- Run the App: Build and run the app on your iPhone. Your app should now be able to interact with the Mockoon mock server using the local IP address.
Sharing Mockoon Environment with Team Members
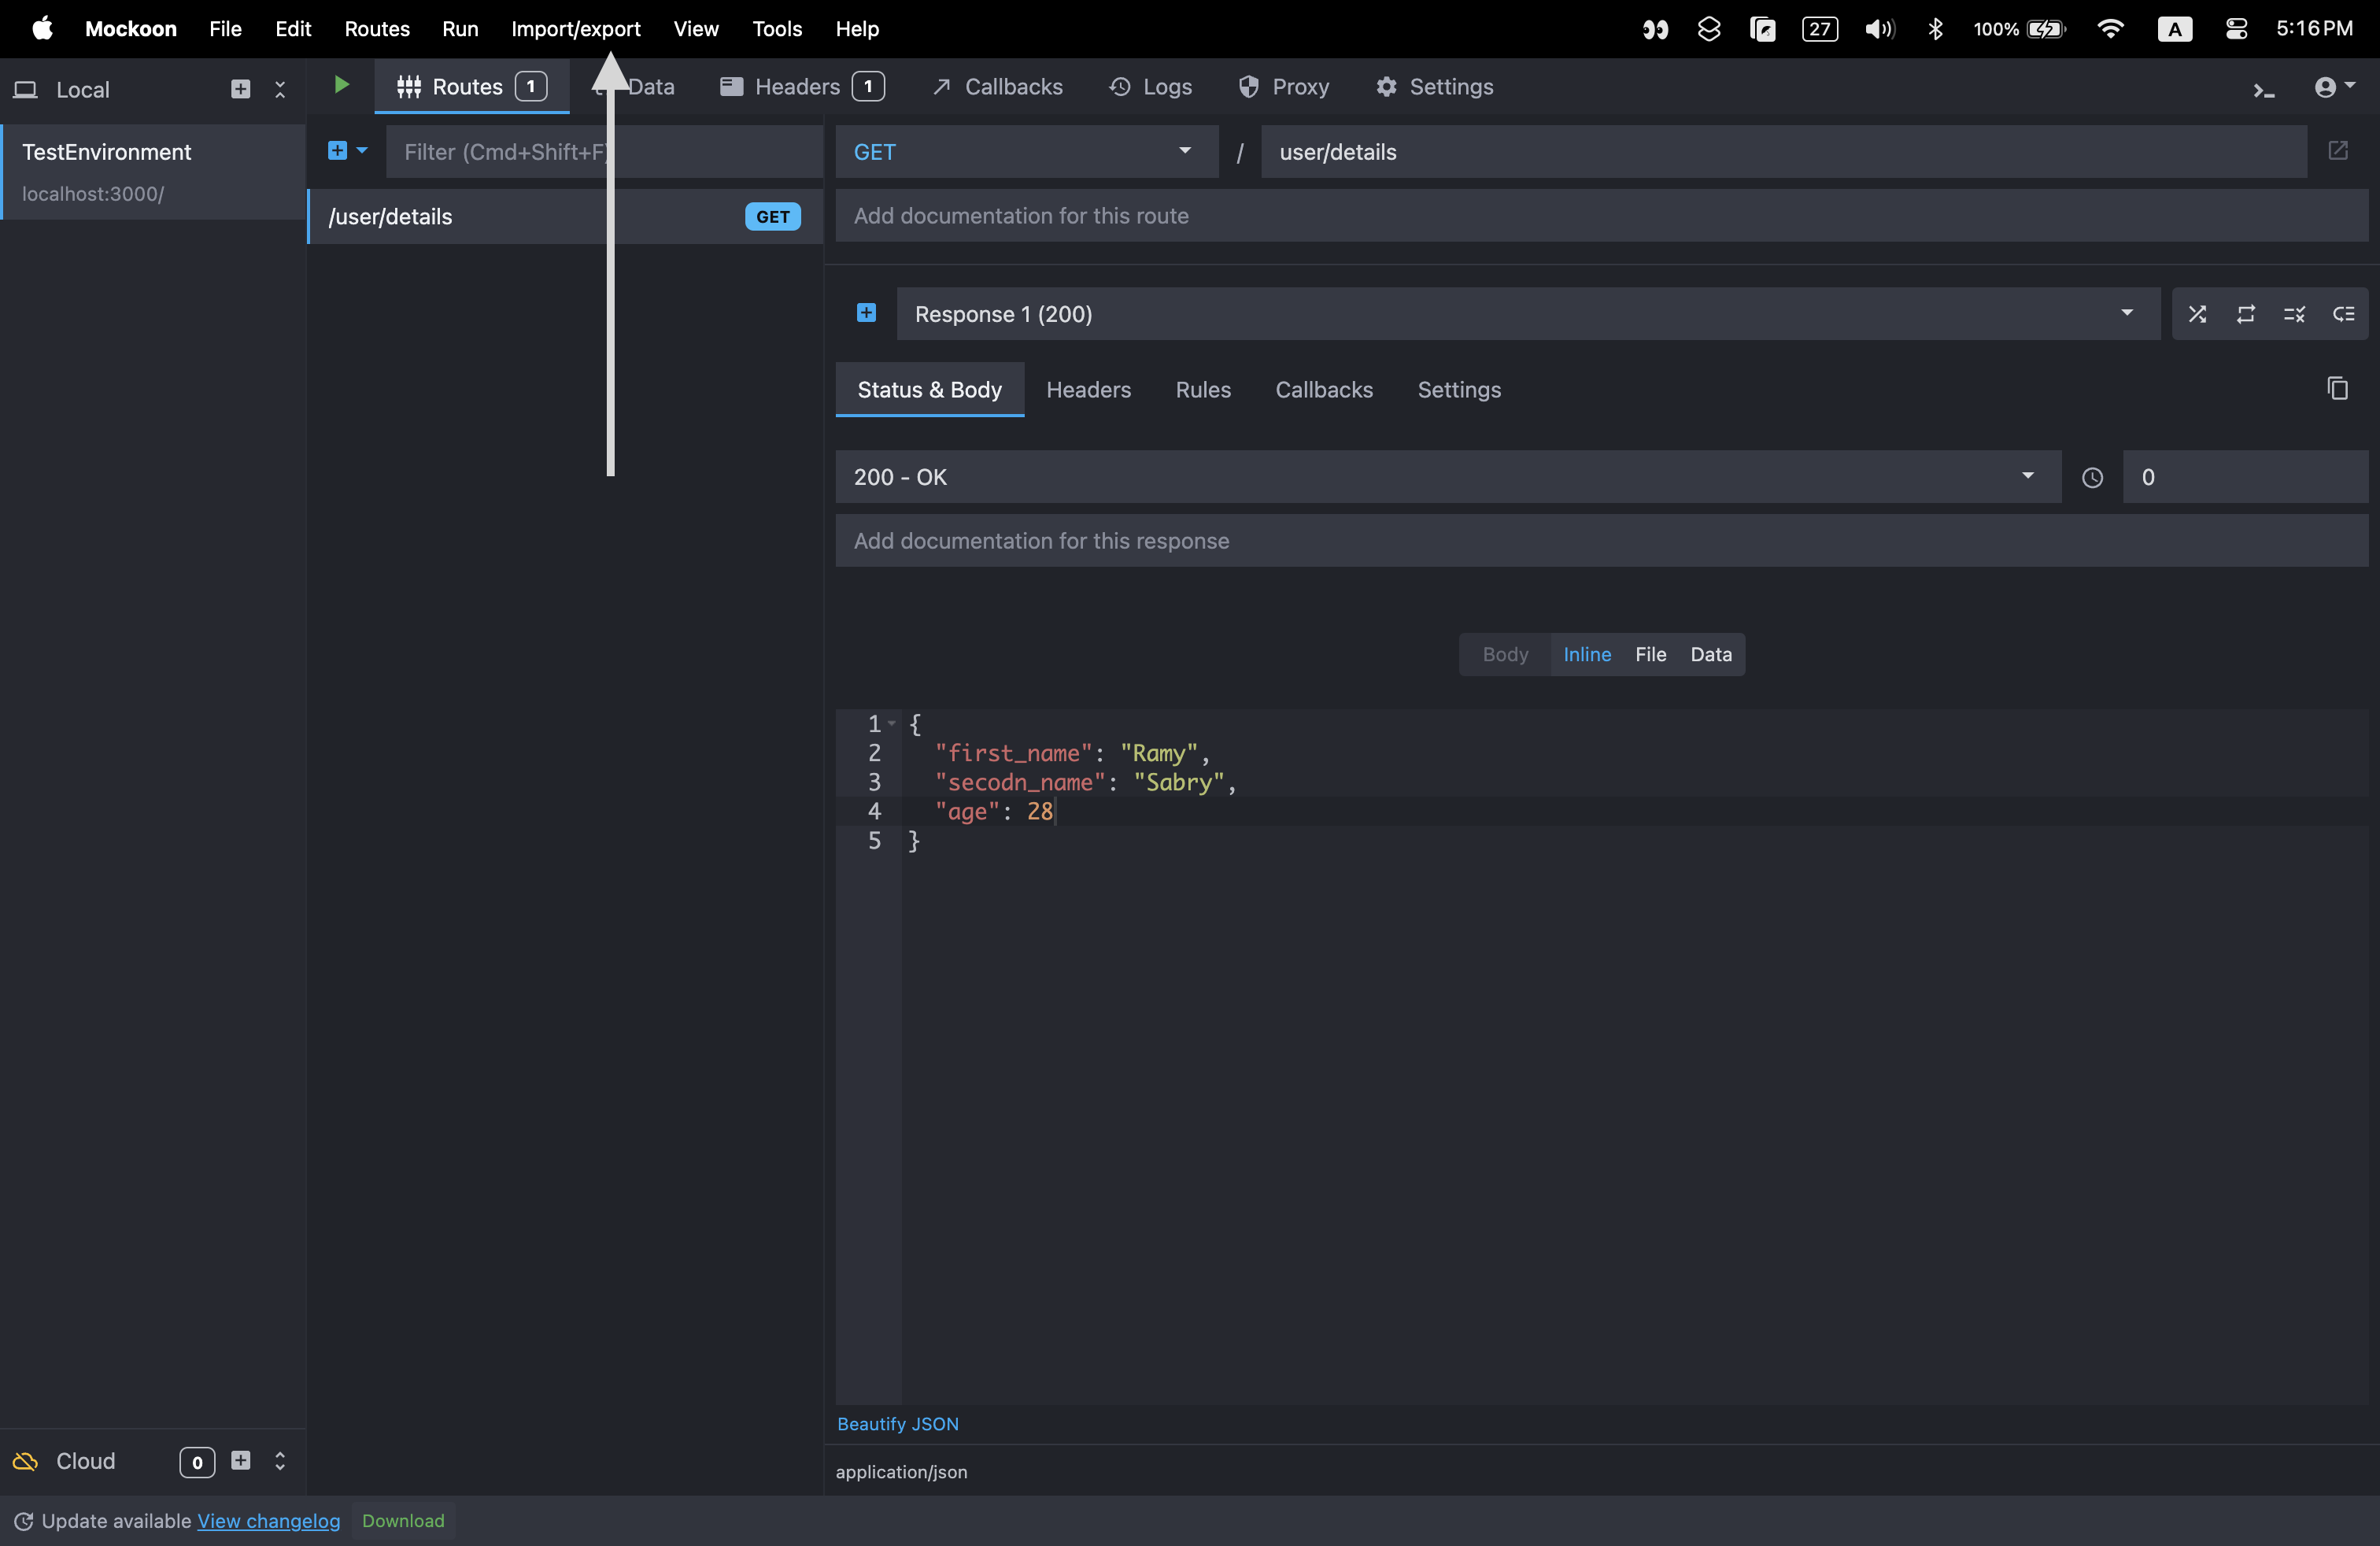
- Export Environment: In Mockoon, go to the environment settings and export the environment configuration as a JSON file.
- Share the JSON File: Distribute the JSON file to your team members.
- Import Environment: Team members can import the JSON file into their Mockoon application, allowing them to use the same mock server setup.
- Centralized Storage: Store the JSON file in a centralized location like a GitHub repository for easy access and version control.
Additional Resources
What’s Next?
To further expand this solution, you can expose the local IP address of your Mockoon server to enable remote access for other team members. This can be achieved using tools like ngrok, which create a secure tunnel to your local server 🚀.
