As a senior software engineer specializing in iOS development, Managing multiple Xcode projects can be time-consuming and cumbersome. Constantly navigating through folders to open different projects disrupts your workflow and decreases productivity.
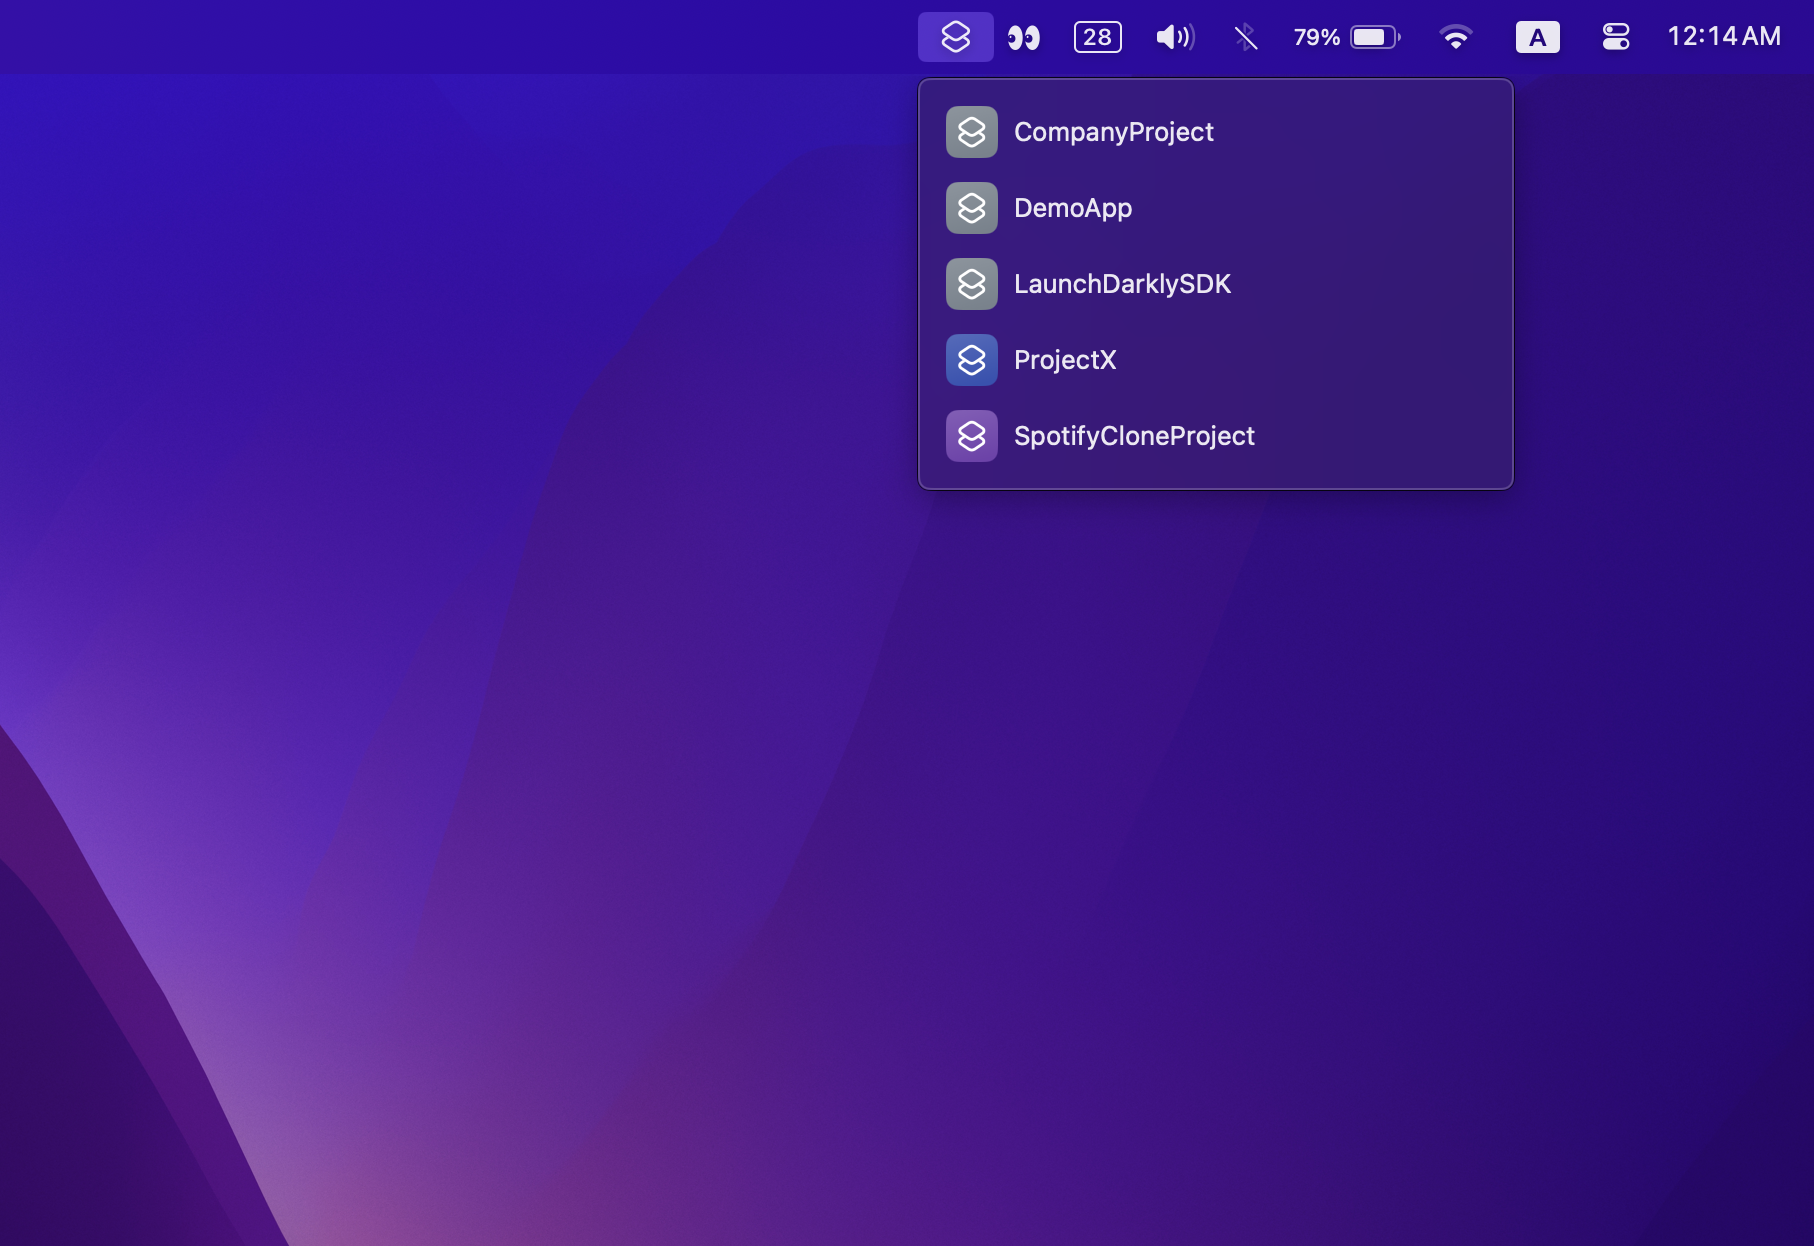
The macOS Shortcuts app offers a solution by allowing you to create menu bar shortcuts for quick access to your projects.
This guide will walk you through the process of setting up these shortcuts, helping you save time and increase efficiency.
Prerequisites
Before we start, make sure you have the following:
- The latest version of macOS installed.
- Xcode installed and updated to the latest version.
- Basic familiarity with the macOS Shortcuts app.
Creating Your First Shortcut
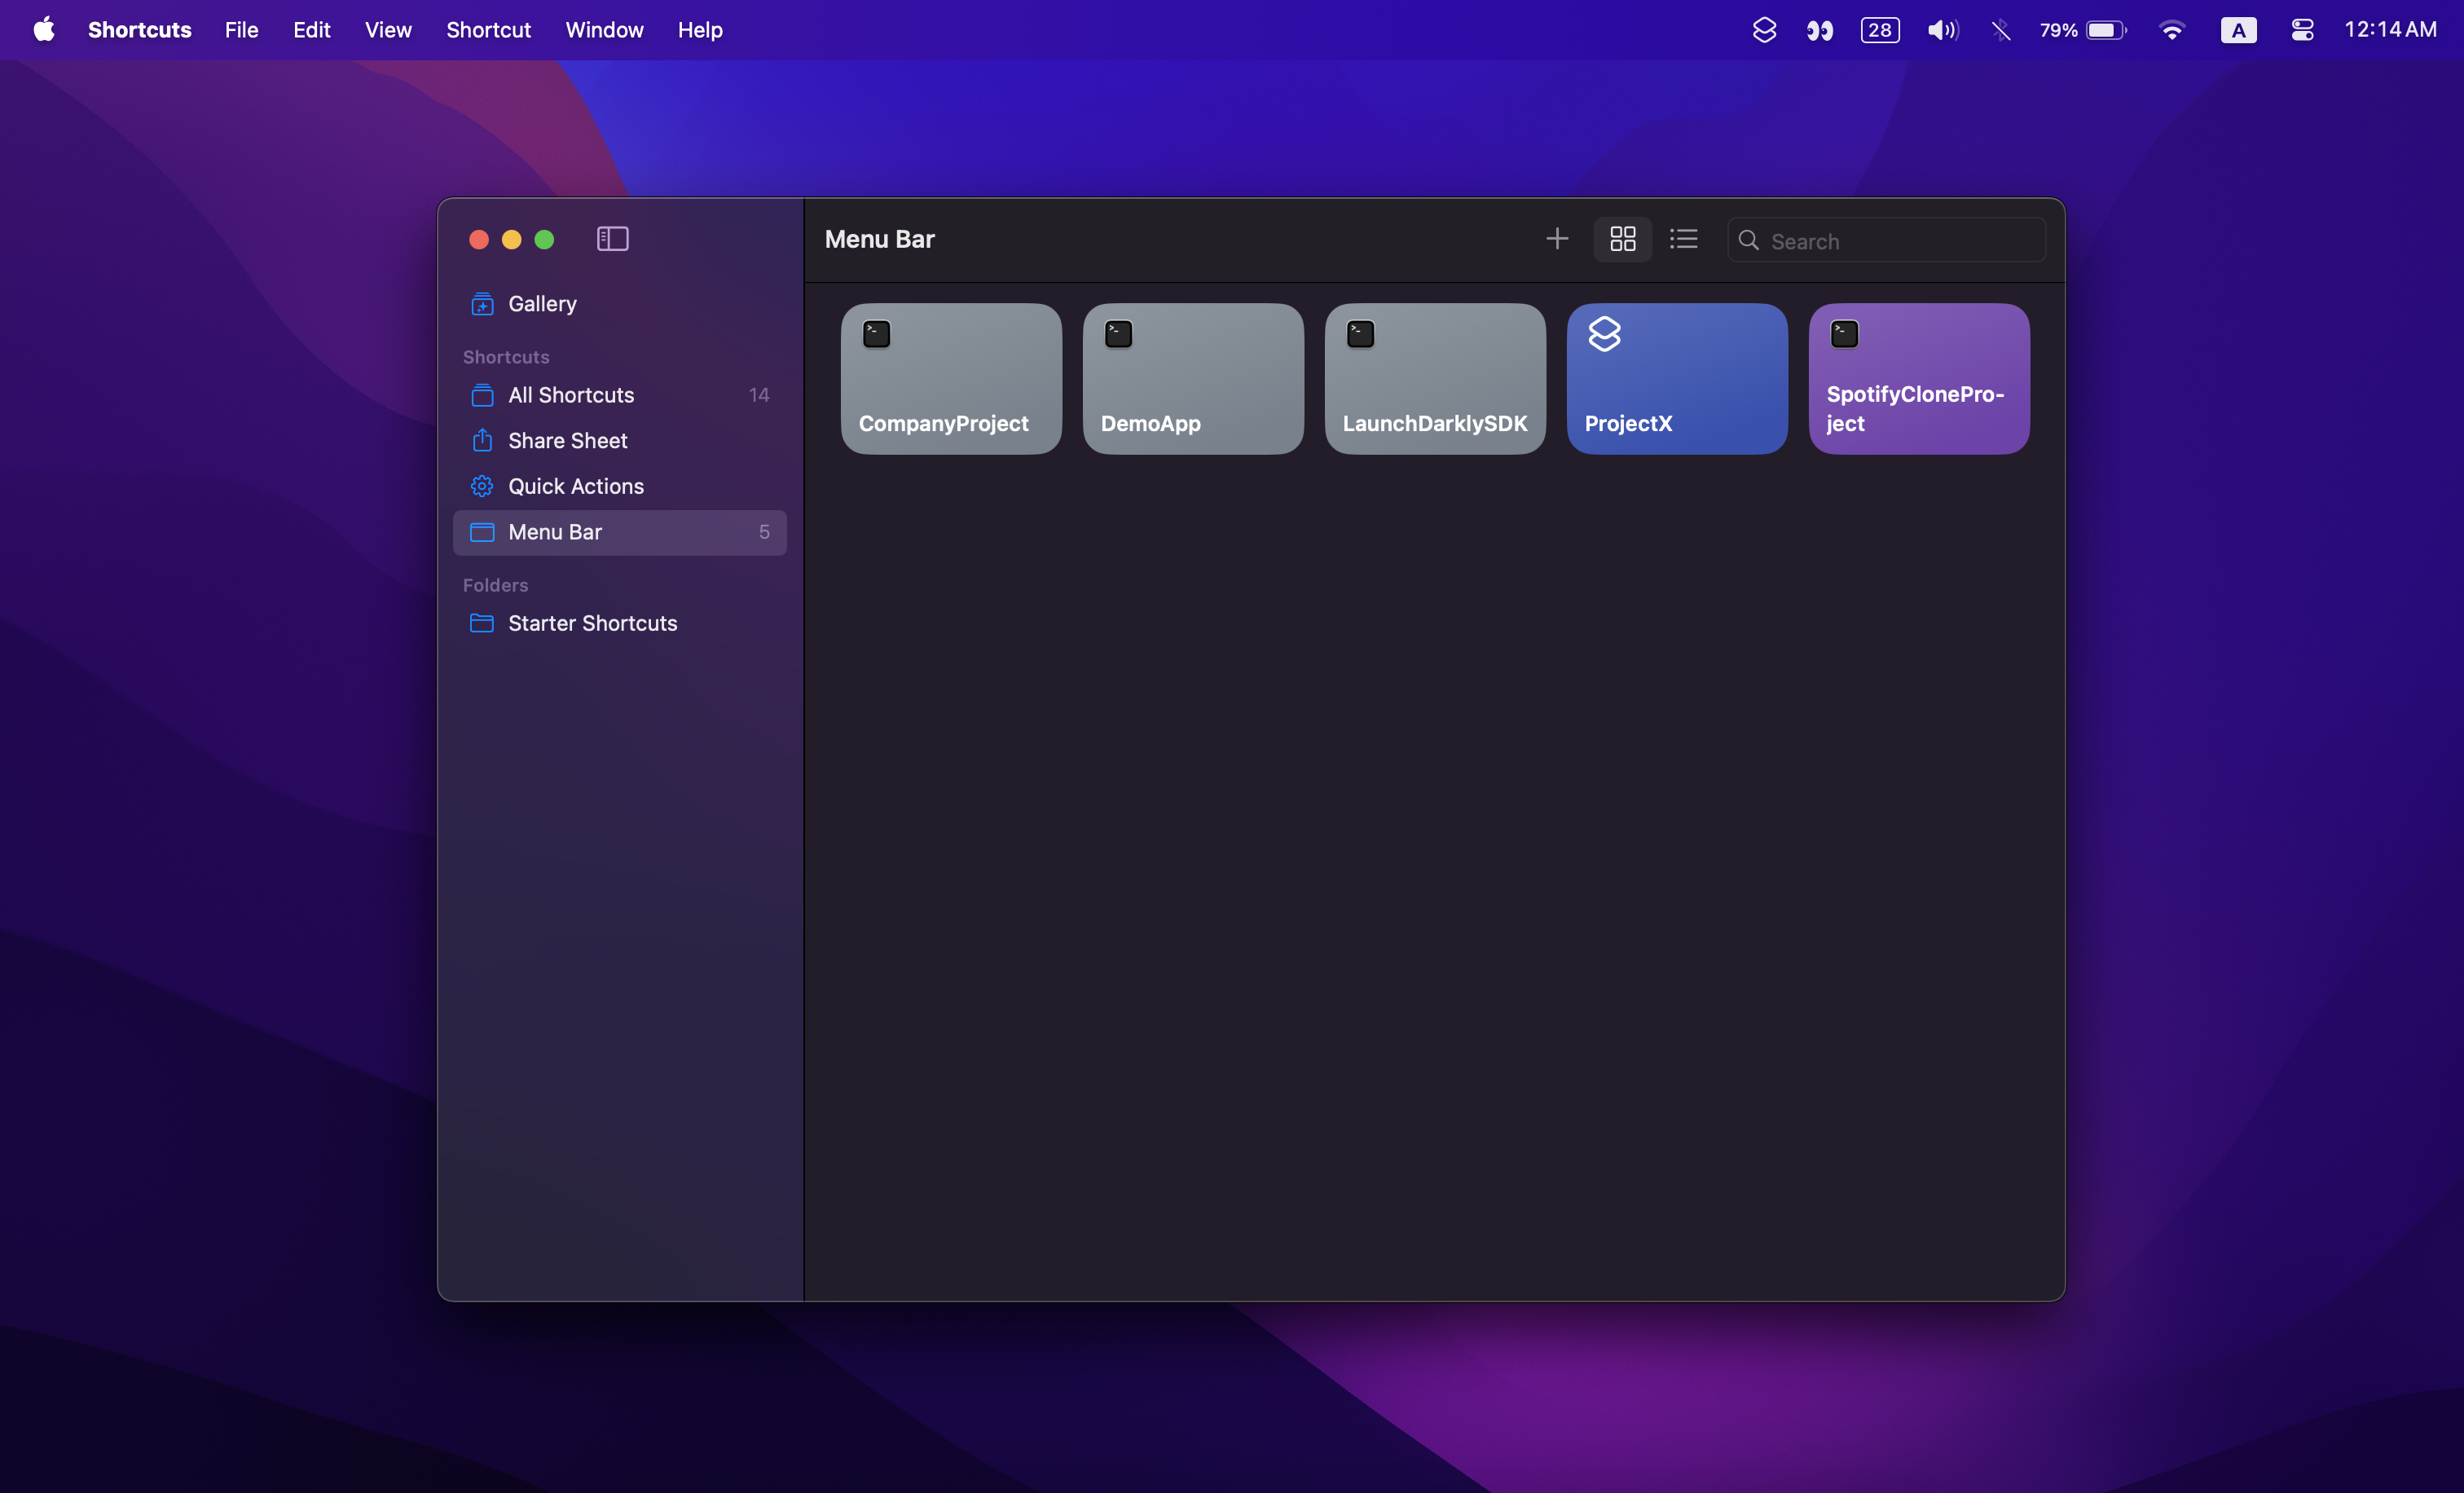
- Open the Shortcuts App:
- Launch the Shortcuts app from your Applications folder or use Spotlight to find it quickly.
- Create a New Shortcut:
- Click the “+” button in the top-right corner to create a new shortcut.
- Name your shortcut, for example, “Open Xcode Project 1”.
- Add the Action to Open Xcode Projects:
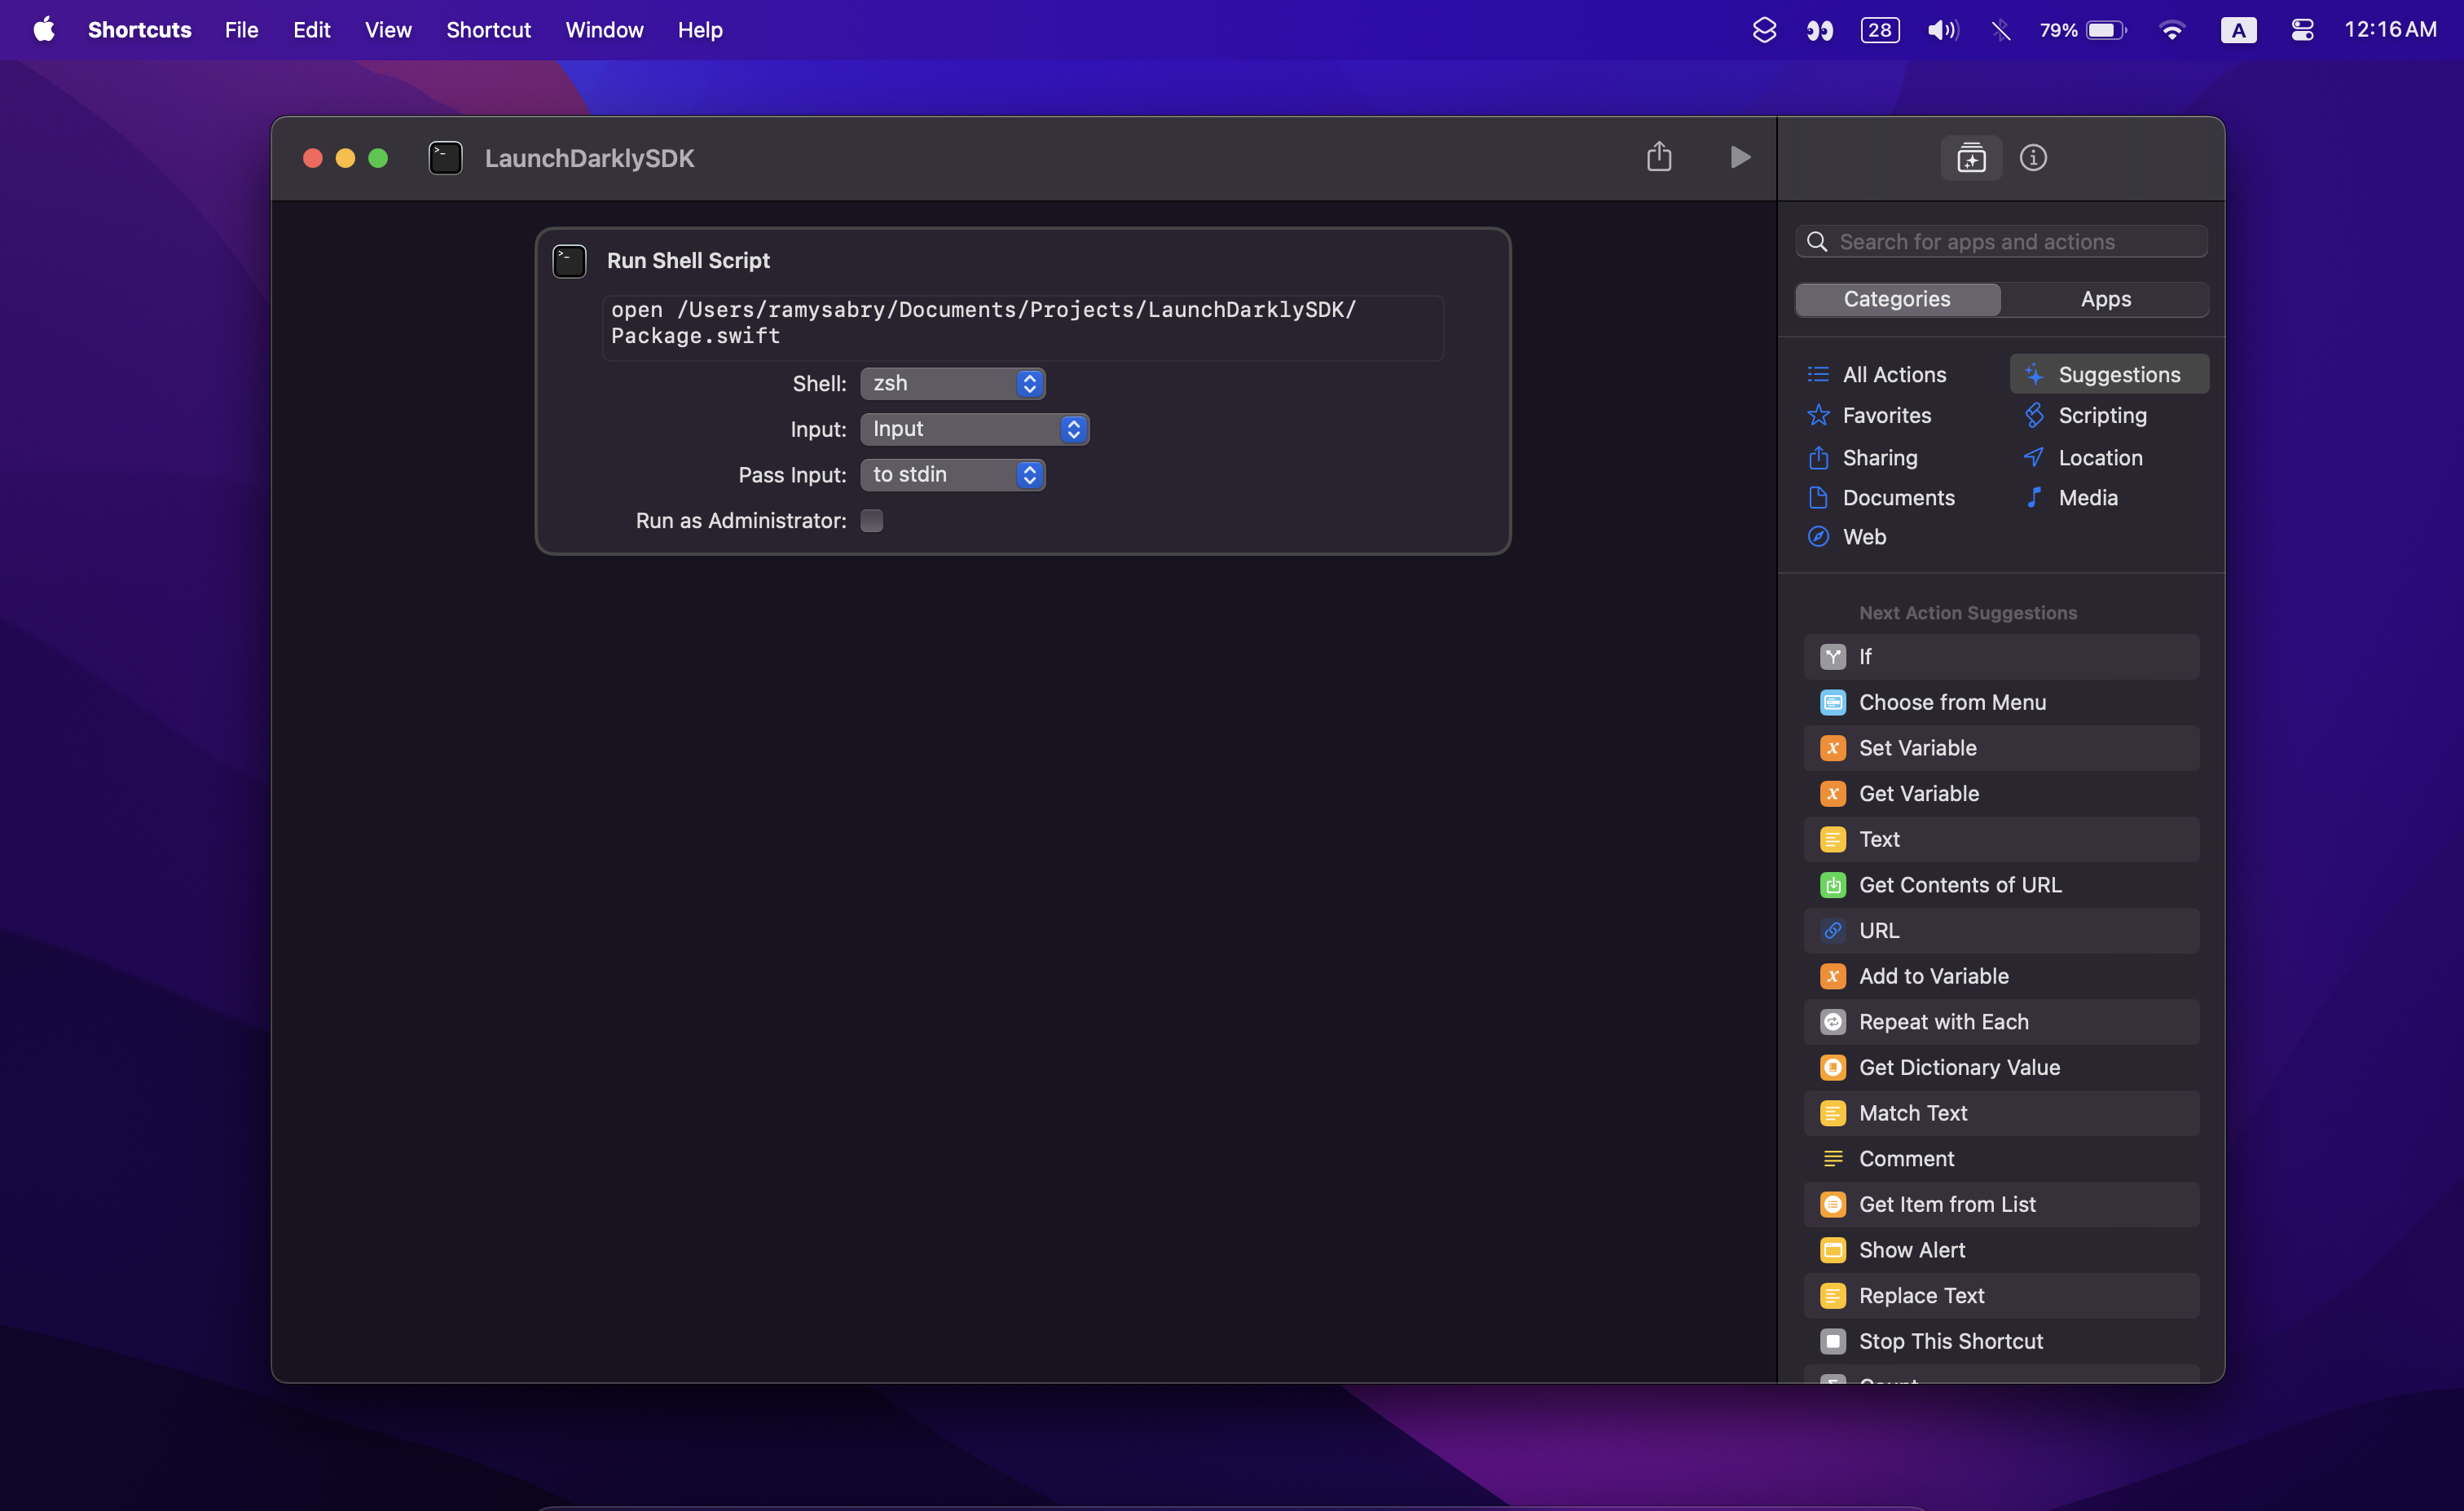
- In the search bar on the right, type “Open File” and drag the “Open File” action to your shortcut workspace.
- Click on the file path placeholder, then navigate to and select your Xcode project file (.xcodeproj).
- Save the shortcut by clicking on “Done” or the equivalent save option.
Adding Shortcuts to the Menu Bar
- Pin Shortcut to Menu Bar:
- In the Shortcuts app, find the shortcut you just created.
- Right-click on the shortcut and select “Pin to Menu Bar”.
- Repeat for Other Projects:
- Follow the same steps to create and pin shortcuts for each Xcode project you frequently work on.
Organizing and Managing Shortcuts
- Group Related Shortcuts:
- To keep your menu bar organized, consider grouping related shortcuts together.
- You can do this by naming them in a way that indicates their relationship or by adding them to a folder in the Shortcuts app.
- Rename Shortcuts for Clarity:
- Ensure each shortcut has a clear and descriptive name, especially if you have multiple projects with similar names.
- Update Shortcuts as Needed:
- Periodically check and update your shortcuts to ensure they point to the correct project files, especially if project locations change.
Advanced Tips
- Use Icons for Visual Distinction:
- Assign different icons to each shortcut to quickly identify them in the menu bar.
- Combine Multiple Actions:
- Enhance your shortcuts by combining multiple actions. For example, you could create a shortcut that opens a project and starts a build process or opens related documentation.
- Automate Routine Tasks:
- Use the Shortcuts app to automate routine tasks you perform before or after opening a project, such as cleaning the build folder or running scripts.
Call to Action
If you found this guide helpful, please share your own productivity tips in the comments below. Don’t forget to subscribe to my newsletter for more tips and tutorials on enhancing your development workflow. Happy coding!
